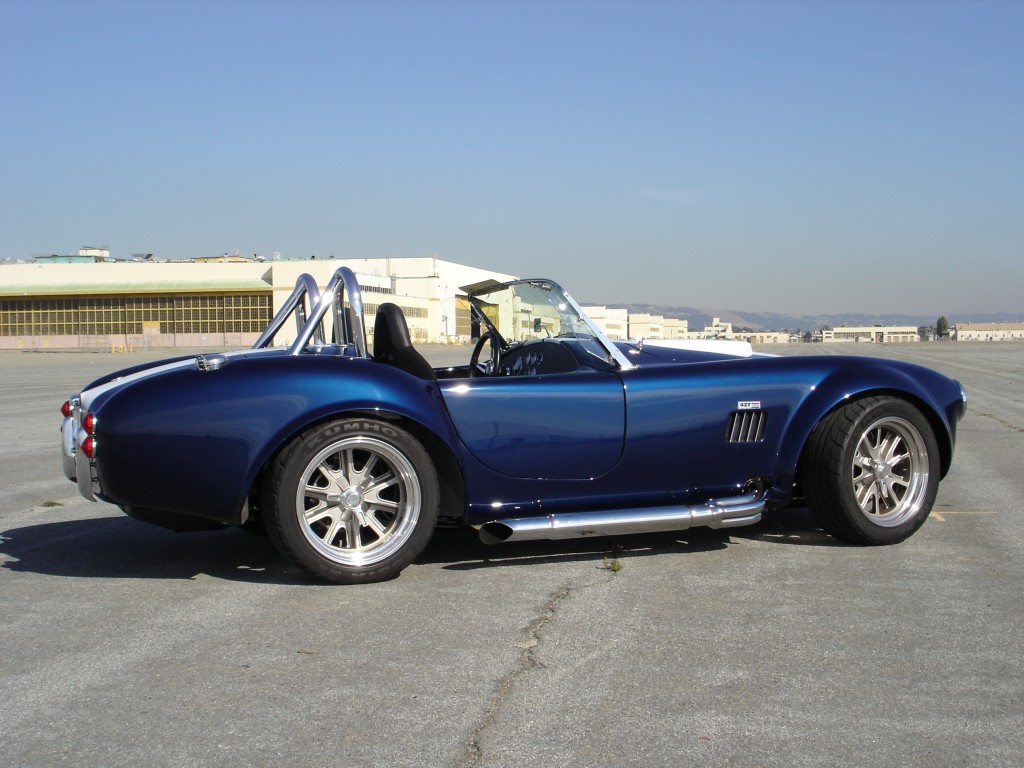
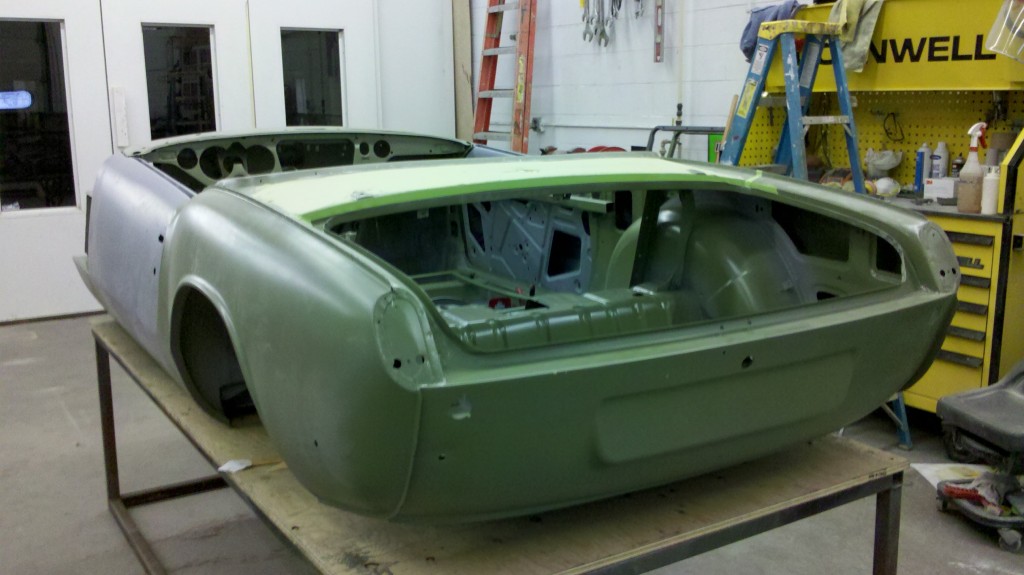
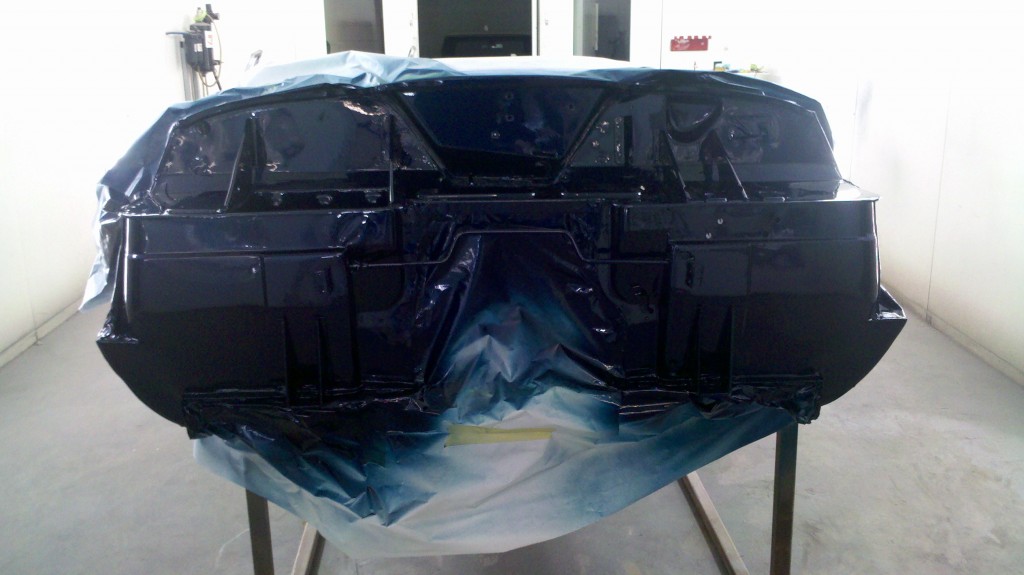
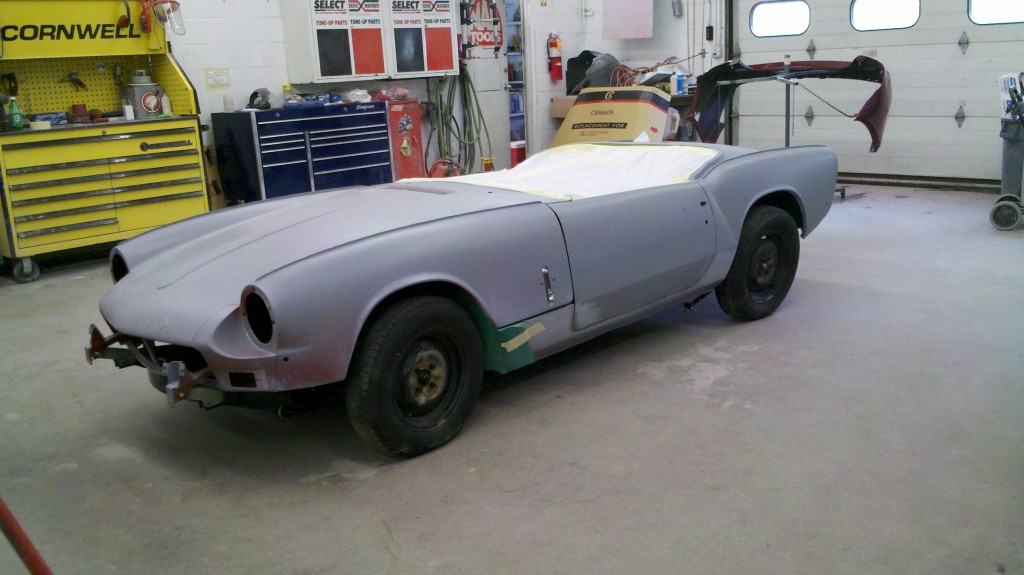
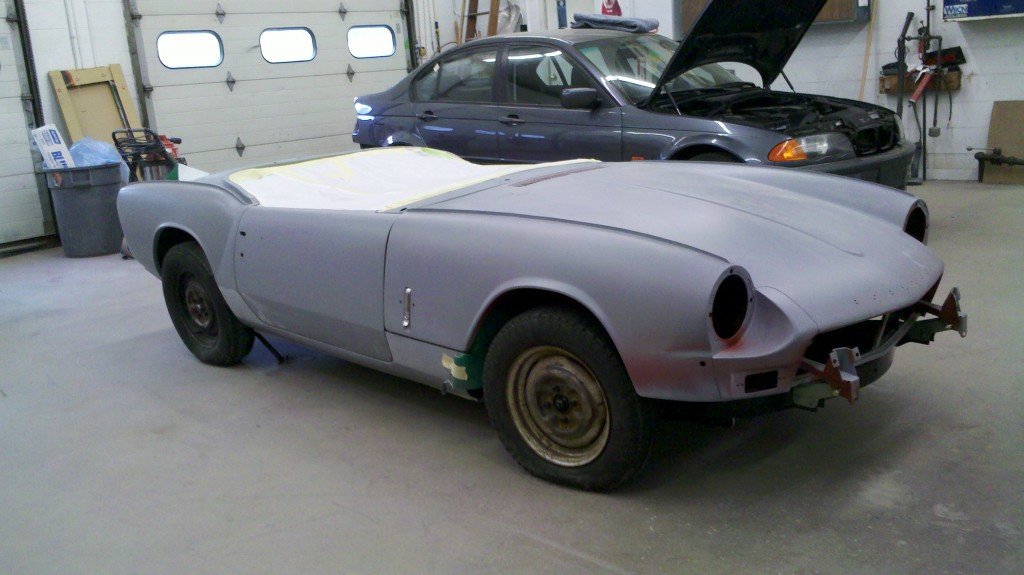
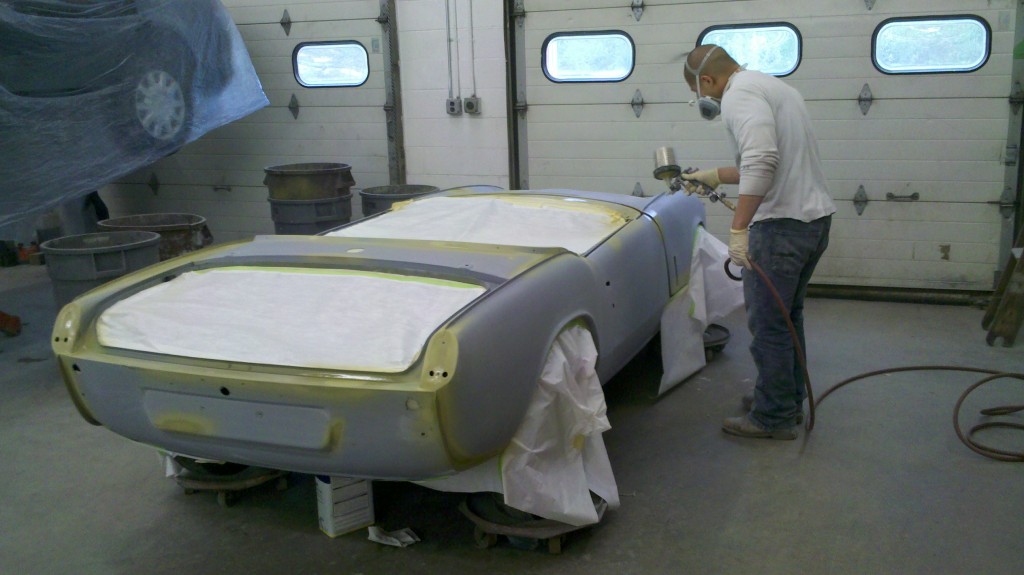
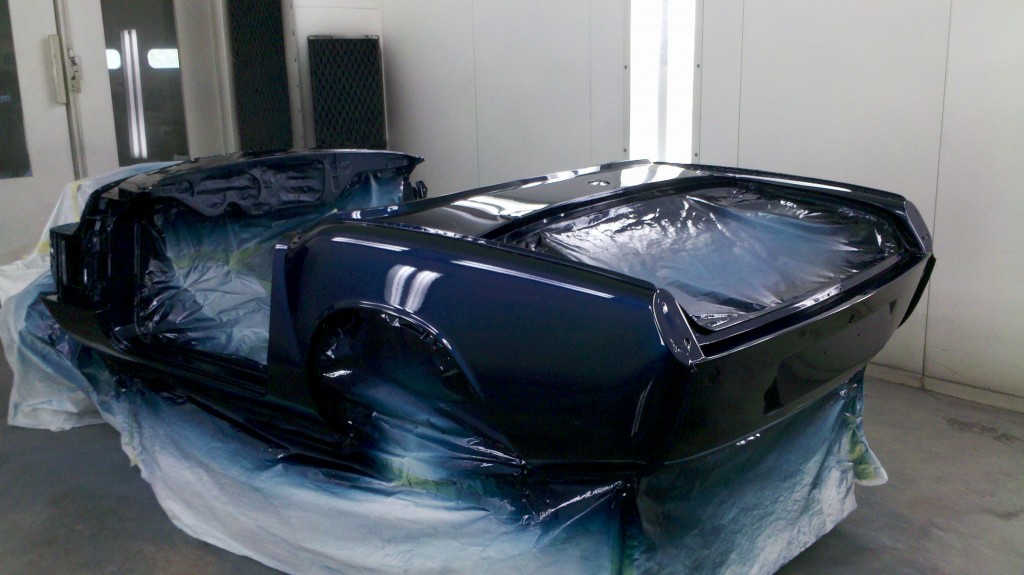
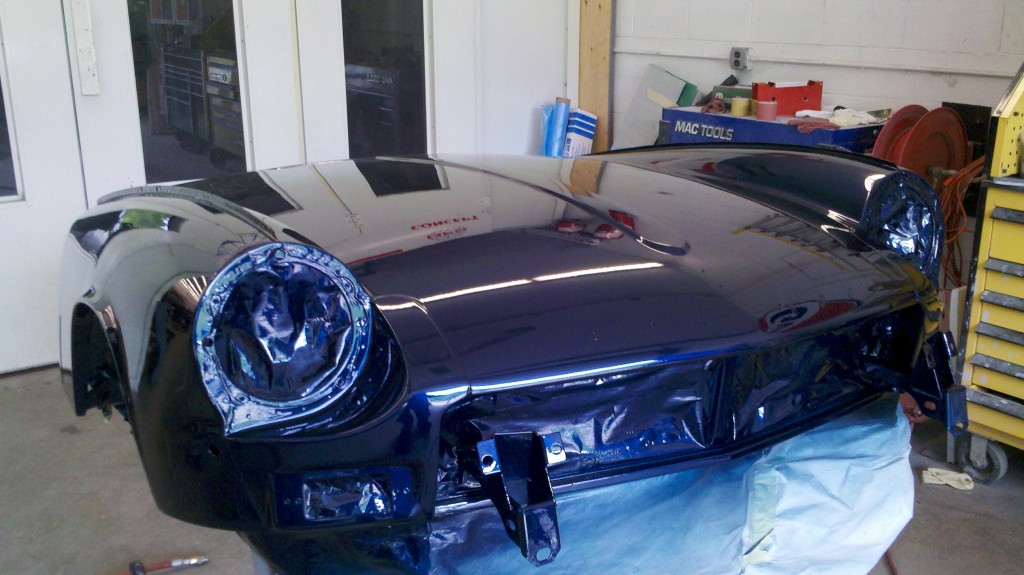
At this point, November 2010, everything went to “Nick’s Autobody” in Hampstead NH, to be prepped and painted. He first sprays on a zinc based green primer and then starts skim coating and block standing. It will go through several iterations of skim coating and sanding until he is ready to paint it. The inside and bottom will be black (saving cost and effort), and the firewall, trunk and outer will be a Dark Blue color from Toyota called Indigo Ink Pearl. I saw it on a Lexus and then later liked it on a Camry and then ran into a guy who painted a Cobra Kit car with it. Below is a shot of a Cobra with the color (This is NOT my car, but would not mind one if I could get one).
Here are some shots from the body shop, as Nick and Nam start working on it. Nick’s is a standard body shop, but he does take on restoration projects from time to time, and for me he is basically just handling body work and paint. He was referred to me by my friend Phil Manro, who had a 1969 Firebird through the shop. Since then I have seen another Firebird Nick worked on, as well as a 1955 Chevy he is doing for himself.
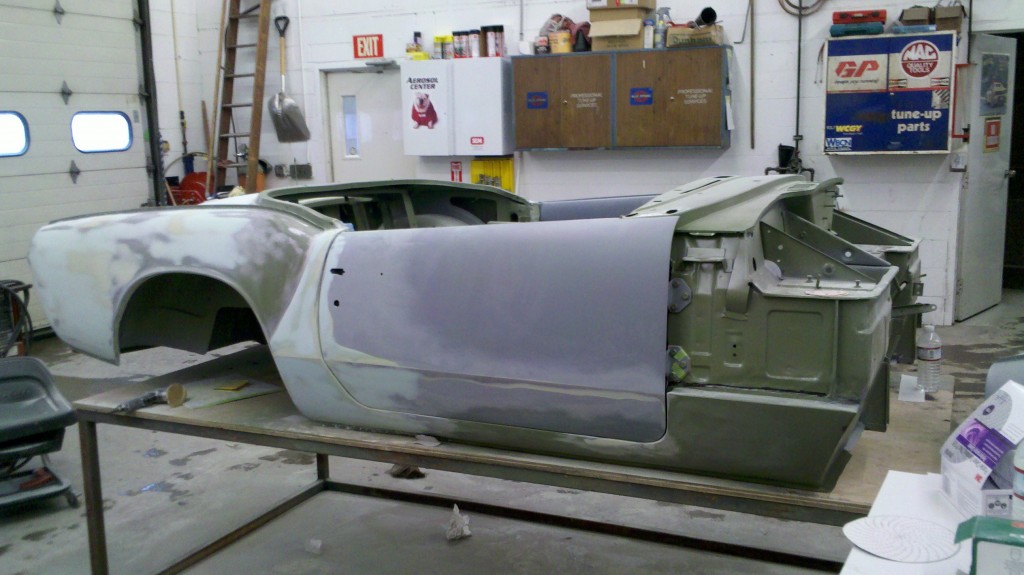
This is just with body work on the doors, the new panels were pretty clean on this side of the car.
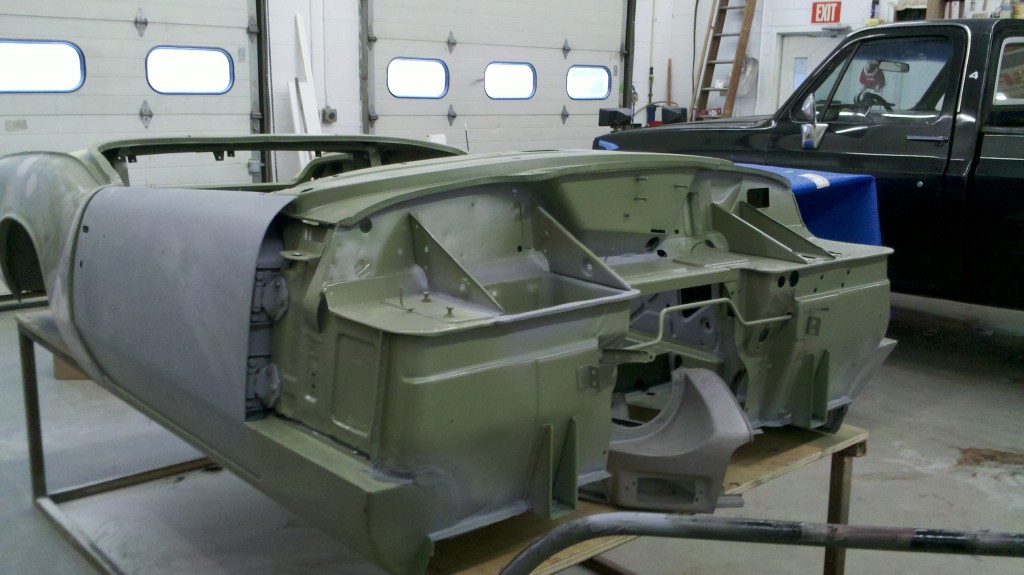
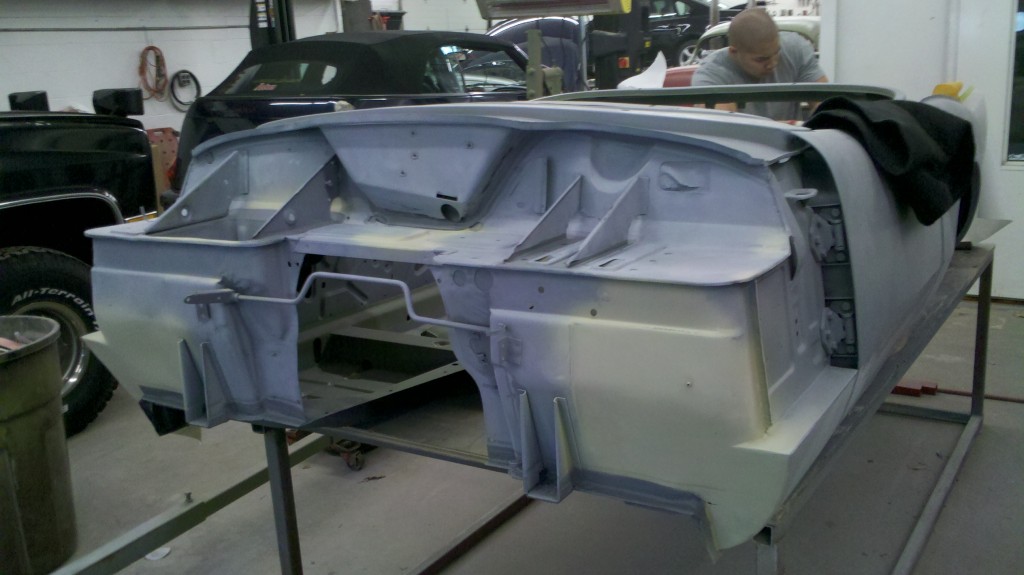
Here is the only real body work needed on the body, The rear quarter needed some work where the bottom rear replacement panel was attached (the shape of the panel did not match the contour of the original panel and the rear marker filler panel needed to be smoothed out), The doors at this point had been skimmed and finished already. Nam ( the guy doing the block sanding) had to do a little BFH banging to open up the gaps at the front of the rockers due to issue I mentioned earlier about not calculating in the paint and primer to the gaps,
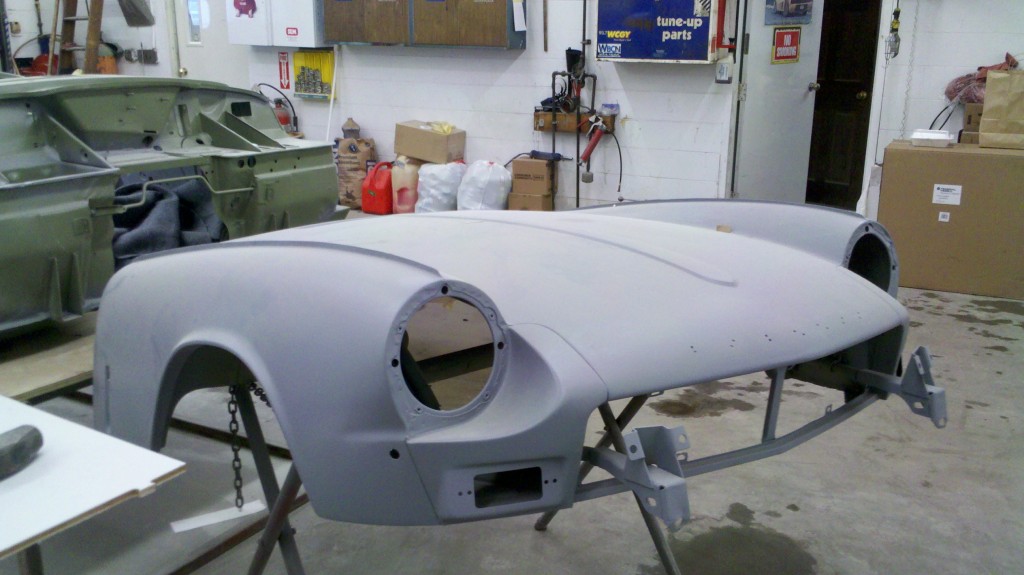
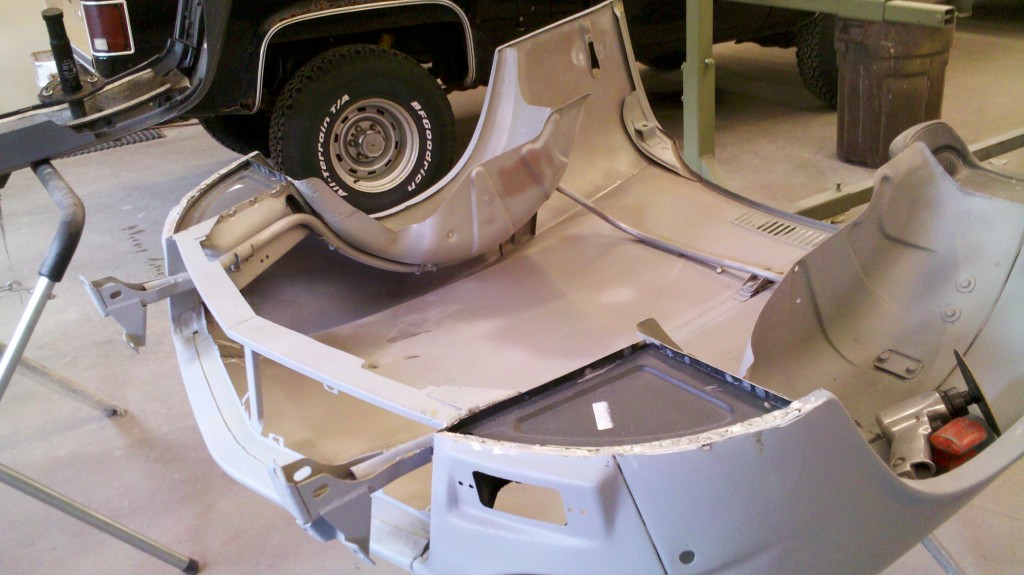
Here is the nose all block sanded. What you can not see is that the inner supports under the light buckets are pot marked with rust through. It is waiting on some new panels to come in and be installed by Nick. Another issue is when I initially fitted the new nose, I noticed that it was a little low on the passenger side lip on the bulkhead. We may need to mount the car to the frame and fit the nose to make sure that gets resolved.
We are planning on coating the inner side of the rear valance, the wheel arches and the bottom of the car in body shultz, which is a soft rubberized coating to prevent denting and rock chipping and can be color painted after wards. This will also help in noise and heat reduction so I will not need as much sound and heat shielding under the carpets.
2/28/2011: Right now this is where I am at, and I will add stuff over the next 6 weeks as we finish this step.
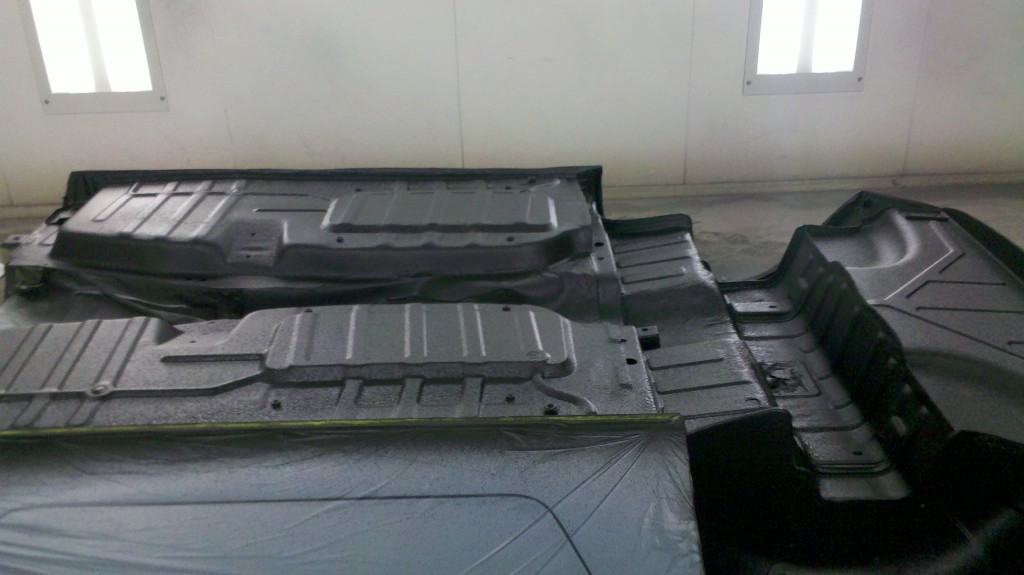
5/5/2011: Well after a couple of months off due to other projects, the guys at Nicks are hard at work again. After only about a week, we are about ready to put the car back on the frame. We followed through with coating the bottom with the chip protector, looks like Rhino-liner, and decided not to paint over it. It will be easier to touch up later and looked really cool.
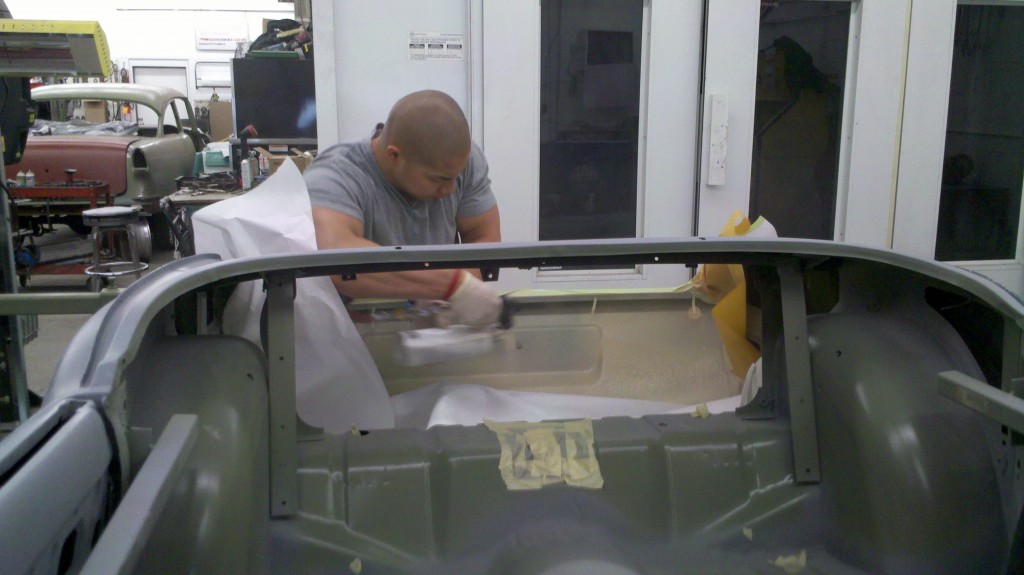
The picture does not give it justice, it looks really good. We then used a slightly different product on the inside of the rear valance to protect against small dings from inside. Below is a picture of Nam spraying a second coat on the valance.
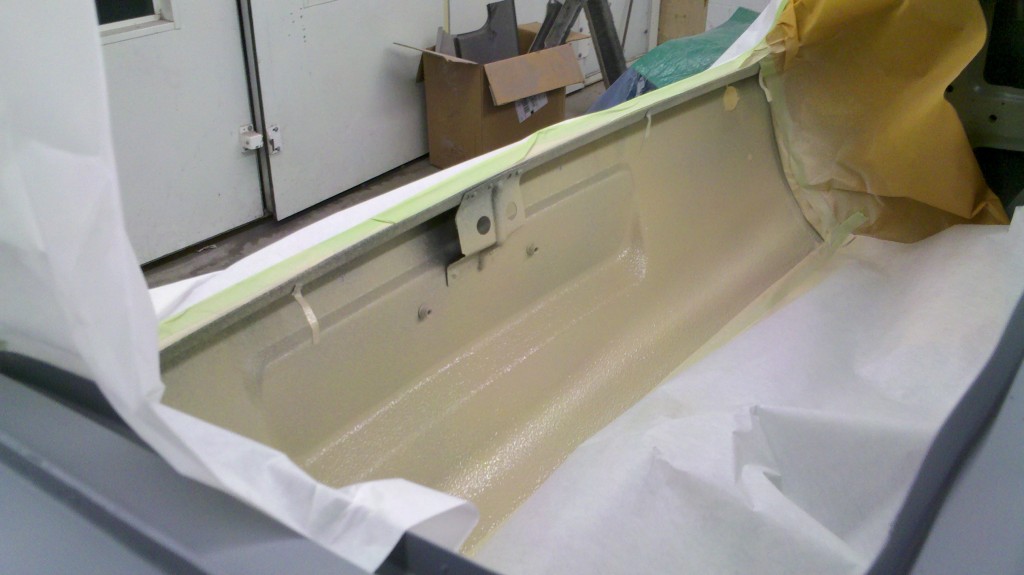
Final after second coat with new nut inserts for the license plate pressed in. This was a nice idea from Nick, rather than just dripping holes and mounting to the rear.
Nam also spent most of two days prepping the firewall for paint. It was very pitted, and we decided to just clean it up. Probably a bit overboard, but it will look nice with all the new powdercoated pieces I have done for Phase 3. He had to sit and do a lot by hand under the supports for the brake pedal box.
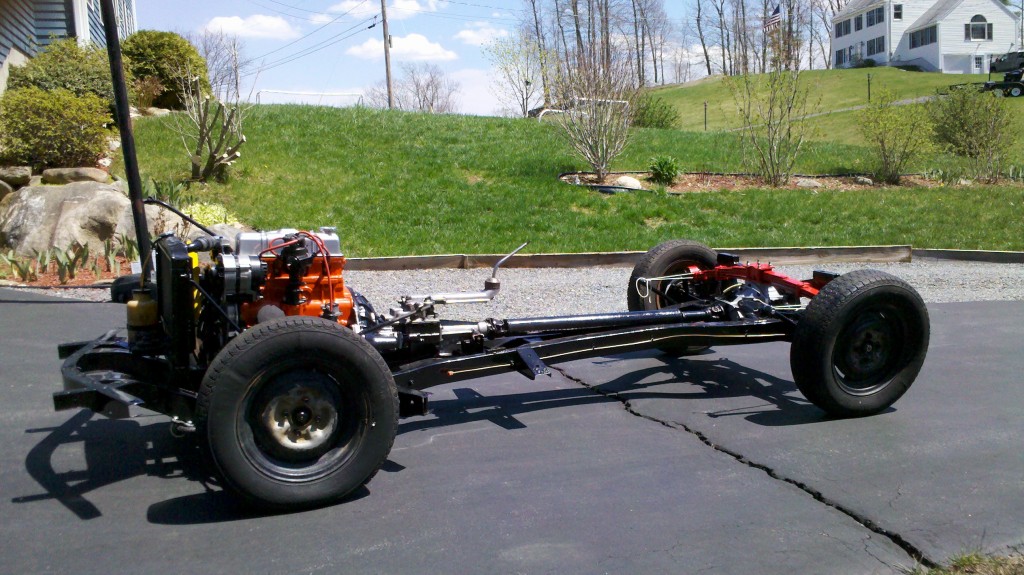
First time the chassis has rolled out since being rebuilt. Got a few looks from people as it was flatbedded over to the body shop.
Below is some final bodywork being welded into the nose. Thought it was in better shape than it was, but the headlight bucket sections were shot. Had to replace with new and add a little water proof filler to clean it up. Another day or so and it will be ready for paint as well.
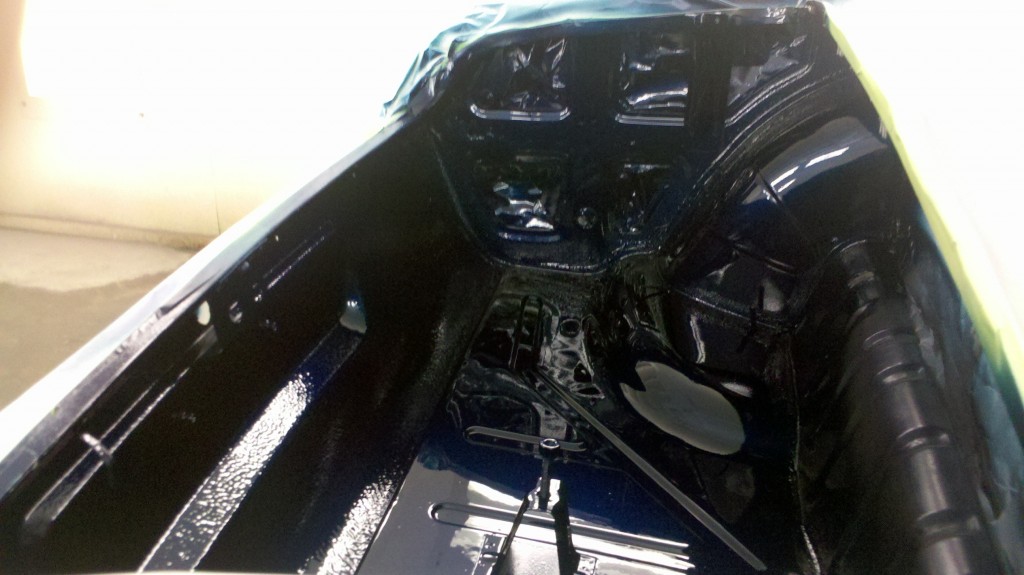
5/7/2011: A couple of color shots of the trunk and firewall, not the best shots, but shows the color nice.
5/8/2011: The inner rear valance came out so well with the 3M Body Shultz, that we decided to do the entire floor and foot well area with three coats to add sound and heat proofing. We then color painted it. Most of it will be covered in dynomatt and carpet set, but wanted the added protection and sound and heat proofing.
5/10/2011: Helped Nam get the body mounted on Monday at lunch. Went on real well, only one bolt needed to be tapped and one hole hogged 1/8″ and the door lines stayed all straight. I went with a spacer and rubber mount for the rear two mounting points, rubber mounts for the seat belt mounts and the front inner outrigger mounts (a little different than any of the drawings I could find, but seemed to match what I saw when we took the car apart and matched what I had as I welded it back together. Nam then finished the day prepping the nose. I helped mount the nose at lunch on Tuesday, just showing them the pieces and when I swung by that night, I found out it was a real joy getting it to line up. The radiator was mounted at the upper mount holes and needed to be lowered, since the radiator cap was hitting and one front nose horn was bent. But they got it pretty straight for a Spitfire. Now they will do the final block sanding to match the body lines. Below are a couple of shots of the partial assembly:
6/10/2011: It has been some time, but going over to Nicks tomorrow to finish putting the front valance and bonnet on the car. Nam has done an excellent job of prepping, painting and buffing so far. I can not wait until what it looks like back together.
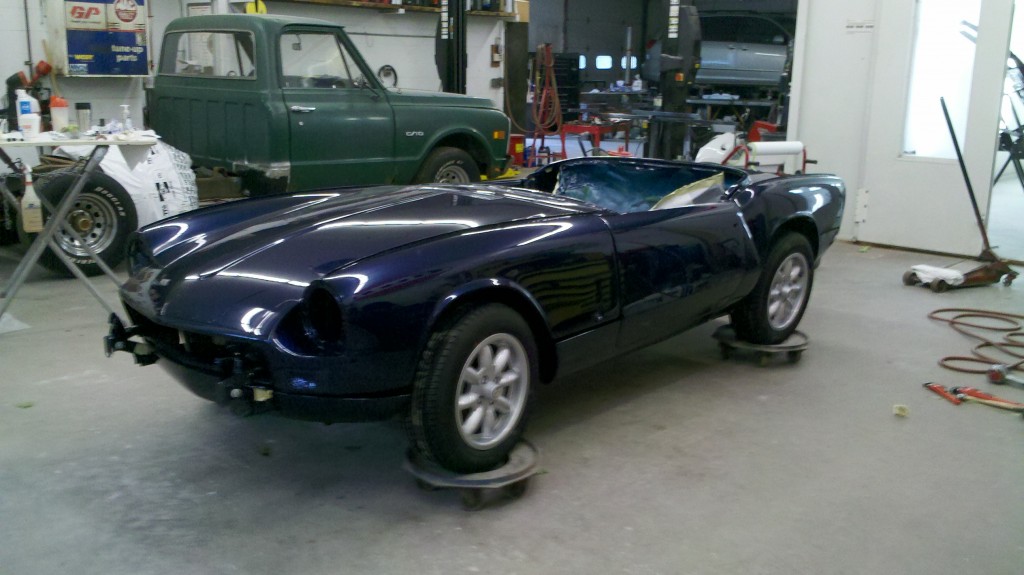
I also had the new 14″x6″ 8 spoke Minilite rims mounted to tha 175/65R14 tires today, so we can replace the dry rotted originals that blew out after the car sat on them for a few weeks on the dollies. They look nice, and I hope they fit well.
Below are some pictures of the progress up until today. I will post tomorrows pictures later.
- Body after 3 color coats and 3 clears.
We wound up applying the Wurth SKS Stoneguard under the entire bonnet, including the wheel wells as a noise and heat insulator. It looked real nice on the bottom of the car and saved Nam time in having to block sand the entire underside of the bonnet. Not to mention the painting around the wheel wells would have been really difficult. It will also add some strength to the lips of the bonnet and sealed the headlight buckets. If it holds up well, I will use it again on one of the TR4s.
6/11/2011: Went over and helped mount the valance, bonnet and added the new wheels at Nicks today. It looks sweet. The front valance just does not work as it came from Rimmer Bothers. It hits the bonnet mounts/hinges. After going home, I looked at the old one and found that there should not be any metal going across those openings at the top above the hinges. We will have to cut them off, hopefully we did not damage too much paint on the bonnet mounts. Below is a new picture with the tires, and it mostly together. No deck lid since I am still waiting on my hinges to get back from Nu-Chrome.

