Here started the easy part, the tear down of the car. The big part of this step is to document and label EVERYTHING!
I received the car in October of 2005 and stripped it during the winter.
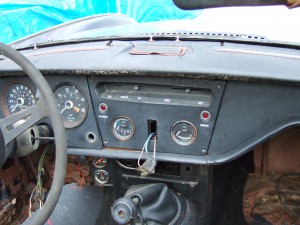
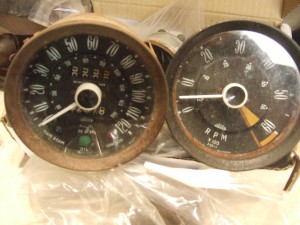
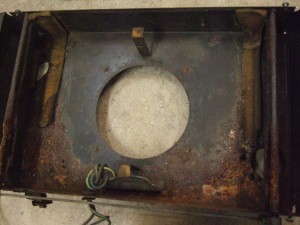
Here is the state of the dash and crash pad. What you can not see, is the that the metal frame of the crash pad is almost completely rusted away, which prevents me from just putting a $60 pad replacement on, and moves me up to finding a rare complete dash pad for $250 or more. The gauges all function, but the bezels are wasted and the faces are in poor shape due to being exposed to the elements. Most of the switches or non functional and the heater controls are all frozen. Luckly I found a set of NOS gauges (with chrome bezels versus the original black ones), and I switched to a dual function oil pressure / temp gauge from Rimmer Brothers.
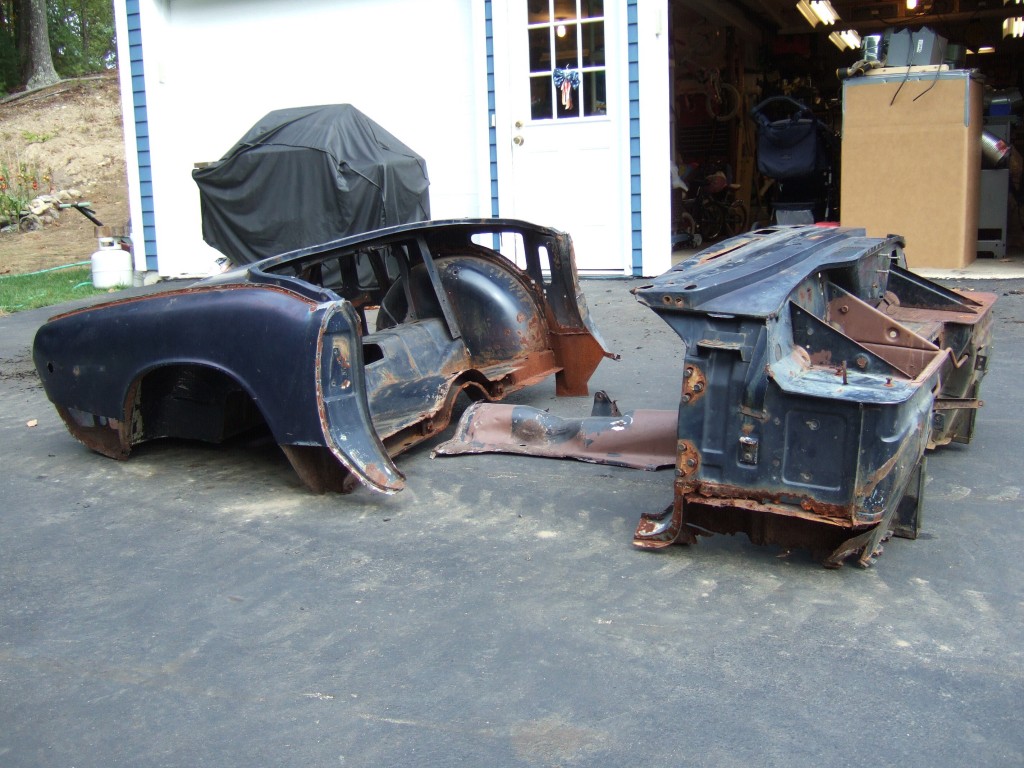
Here is where I stood by spring of 2006.
Above shows pretty much all I kept of the original body. What it does not show is that I had to remove the rear valance and entire truck floor as well. You can tell from the above and the couple of pictures below, that I had to cut the bulk of the A-pillars and B-pillars away, even past the flange for the rocker mounting points, which caused a real slow process of putting the front back together with no good starting point. I used “Prep Rite” in Billerica MA to do the sand blasting on the above sections, for a cost of $450. They did a fine job, but they only use aluminum oxide, which was fine for the small amount of exterior metal, but the nose and doors I used Specially Stripping in North Hampton NH. They are much more reasonably prices and use Soda for the large body panels to prevent warping. The people there are very much into what they do, and do a great job and almost all the people I know working on restorations wind up there.
Here is the driver side A-pillar, still with the bad lower A-post section still attached. After the sandblaster cleaned it all up, I wound up cutting it out right up to the rocker flange. On the driver side I was able to save the flange, but on the passenger side, I had to put in a new flange before I could attach the new lower section.
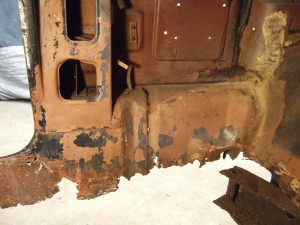
Here you can see the flange damage. This was all caused by an earlier rework attempt that utilized fiberglass matting that sealed in the moisture. Just proof that it is best to always put in full metal repair panels.
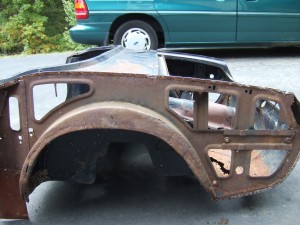
Here is the rear quarter exposed. After sandblasting, I wound up cutting out the bottom of both inner truck panels as well as the outer wheel arches.
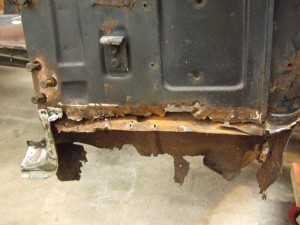
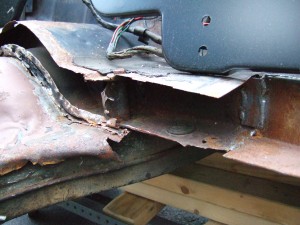
Here is a partial of the heal board damage. I got the car with this section already removed. I wound up cutting out the tunnel later on and saving it. It got into a little trouble with this when I got around to installing the new heal board since I did not realize the upper flange point up, creating a lip in the interior of the car. Luckily I found a picture of another restoration showing the lip and I created a new one. The floor on that rear section was also pot marked with rust through. Unfortunately there is not repair panel for most of this part of the car and I spent several days rebuilding this section before I could attach the new heal board (shown sitting in the picture).
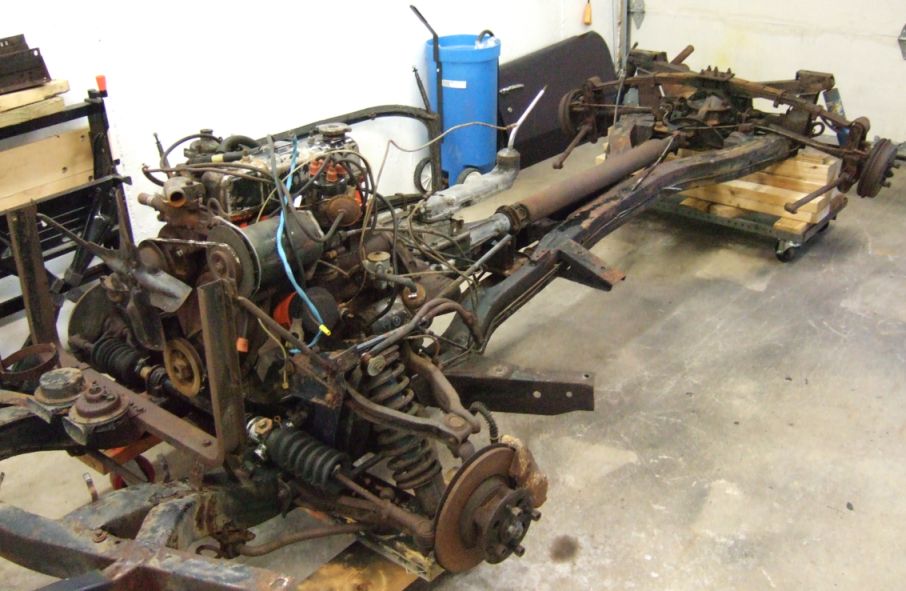
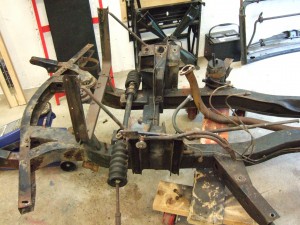
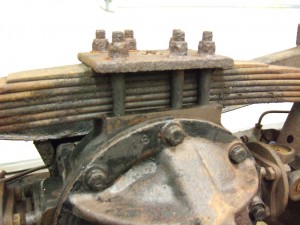
After getting the body off the car, it got to the part of the car I love to work on. I am more of a nut and bolt guy and getting down to the chassis and then removing and cleaning each piece and replacing all the “wear” items was the most fun for me. From March of 2006 to June of 2006, the entire chassis was reduced to its basic elements and labeled and boxed.
The frame, original rear spring, windshield frame, “new” Mk IV rear spring and old and new sway bars went to Specially Stripping for rust removal and then to T-Sign Powder Coating in Hampstead NH. These were all pieces that would not fit in my blasting cabinet or the oven that I was using to powder coat smaller pieces. Total cost was $250 for the blasting and $200 for powder coating the frame (gloss black), windshield frame (gloss black), rear springs (red) and sway bars. Very reasonable price for the frame, which we had to turn on its side to go through their powder coat oven.
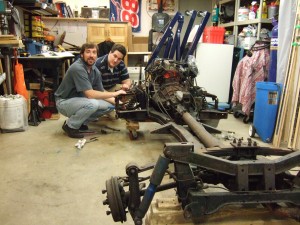
Here I am (on the left) with my friend and nephew Ryan. This is just one of many car projects we have done together, usually on our every day drivers. If he did not have to start a life of his own, I would probably have a few more pics of him through out this project. We are starting to tear down every single part and tagging them prior to sandblasting and powder coating every piece that we could.
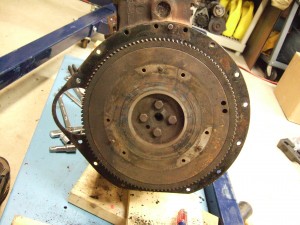
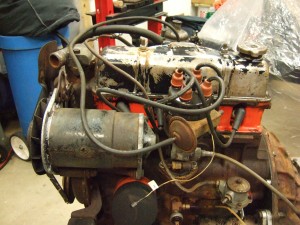
I pulled the engine completely apart except I did not pull the pistons or crank. The engine had been rebuilt prior to me getting the car, and had been bored over with new pistons, bearing and new hardened valve guides. I simply replaced all seals and gaskets and anything I saw that was worn. It was missing the front oil thrower and the proper shims on the timing chain, which I added back per the manual.

Hey wow, someone as nuts as me. And I thought I had body troubles. Actually, your rust problem looks identical to mine.
I just picked up a 65 spit tub that is near excellent shape with a few new panels already welded in. My GT6 is a mk1, so the basic body is the same. After dissambling the entire front end of my tub-removing all spot welds, ect, as you will see if you look at my website, I have gotten to the point where I am unsure if I will ever get the doors square again as I was unable to brace anything prior to destruction, err, disassembly…
anyway, if the ‘new’ tub is in clean enough shape, I’m going to try and remove the coup top from my GT6 and mate it to the spit tub…
Spit to GT6 conversion…
Good work so far. Keep it up.
Hazen, in Idaho.
I can step you through the steps I went through to get the doors right. If you go through my Phase 2 pics, you will see that I cleaned up all mating surfaces and then started dry fitting the new panels. I mounted the doors before welding anything (lots of clamps) and aligned them with the rear while attaching the support beams. I then started to weld stuff together. I will expand that section out to help out anybody else in this state.
Pete
Cool I am starting to rebuild my 1970 Spit. I think it may be only about 75% as rusted as yours.. so seeing what you have done with it so far is encouraging! I am putting in floorboards then I want to be sure the body mounts are good then drive it a while and then fix it up a bit at a time, rather than a full blown teardown all at once. your website is very inspiring!
Be careful to save everything, and I mean everything until you are done. The 1970’s are hard to find the exact parts for, since it was a phase-in year to the Mk IV. I actually combined a lot of newer features into mine and brought back some older ones as well (lettering and front flag badge). I should be updating with some new pictures to the body work and outfitting phases soon, so you can see the end results. Wish you luck and just contact me if you need some advise.
The body mounts usually stay fine, it is the sills going that start to leave the doors hitting the posts. Regards, Pete