I’ve really fallen behind on blogging! And it’s too bad since we took a staycation from work off in November to work on the house (tiling) so I should have updated then – it was a long week though.
So this post will just be a catch up of progress since the last one – based on pictures I have 🙂
The master bathroom was our main project if I go in order – we finished spackling and sanding, then installed water proofing for the shower and floors (Kerdi system)

Sanding done

Shower system installed

Bathroom door installed

Bathroom ceiling painted (don’t want to paint after tile – ceiling painting can involve drips!)

Getting shower tiles ready to go – Schluter Ditra on the floors
Tiling the bathroom was a long process – mostly because we were using big tile and that meant that most of the tiles had at least 1 cut. It basically went – 1 shower wall done 1 day, 2nd shower wall done 2nd day. Break on the 3rd day (other projects). Shower floor 4th day. 1/2 floor day 5 and finish day 6 (saturday after our vacation). The days were short because we had drop off/pickup at daycare and we were cutting outside until saturday so once it was dark we couldn’t see. We brought the saw inside Saturday and stayed up late to finish.

After day 2 – shower

Shower floor went pretty quick since we dry laid it first (and cut)

Shower finished

Floor in progress!

Floor finished!
These pictures I took today but they cover the projects since our vacation.

Tile with the spacers removed (not grouted yet)
So we haven’t grouted yet – 1 month later! The reason for this is that the tile turned pretty grey after being installed. (it started white). We had to wait for the thinset to dry out so the tile would turn white again (white thinset) – the floor is white now, the shower is still a light greyish tinge but I think we’re going to call it good now. I love it – it bothers ryan more (the color not being bright white) – but 12x24s take a long time to dry. So now we have to clean out grout lines, seal the tile, grout, then seal the grout. So plenty left to do!

Bathtub view. The wainscotting is going to go across the front of the tub surround (to tie in with the walls)
Other projects included more sheetrocking …

Master bedroom is sheetrocked (i think 1 sheet is waiting to get installed) – so just about ready for taping

Sheetrocking the playroom downstairs – also there’s new plywood on the floor that you can’t see due to the rug 🙂
Obviously we couldn’t wait to start using the playroom! I finally have space in my livingroom – this was a must in order to put our tree up this year!

Organization in progress….
And then we did the tree!

It’s starting to feel like Christmas around here
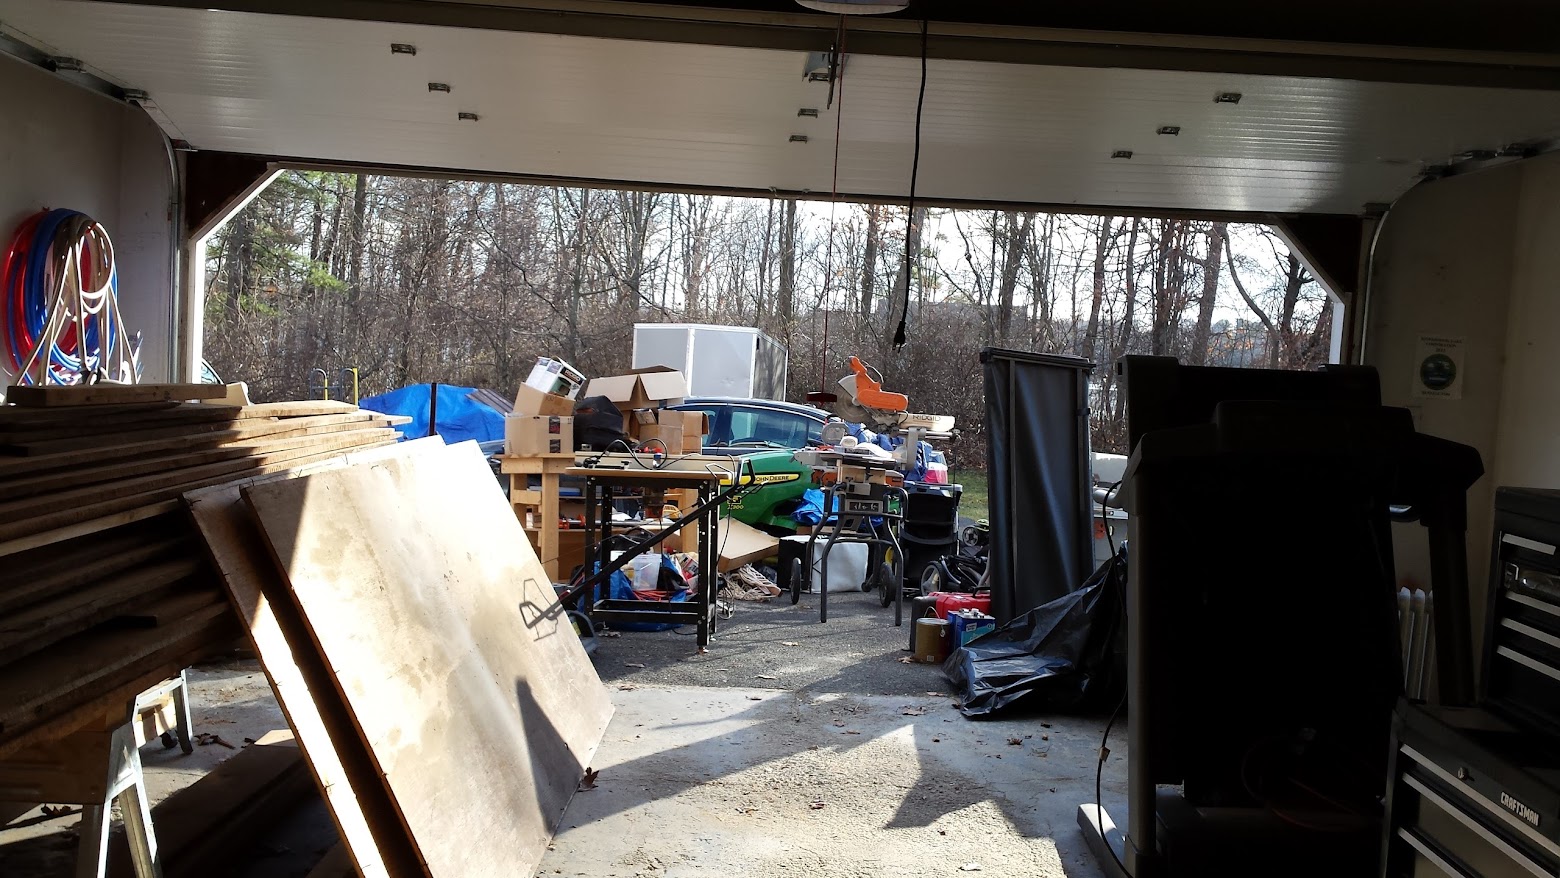
This past weekend we started another new project – Garage organization. We have some new cherry wood coming that we need to store in our garage – but our garage was full!

Step 1 – empty the garage out

Step 2 – take out the old shelf that was very inefficient

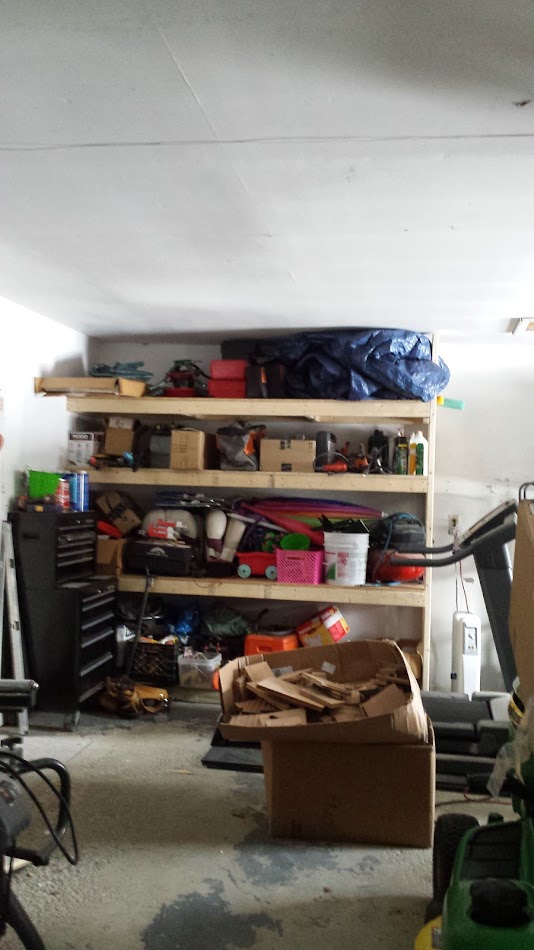
Ryan built new shelves!
We can fit more on narrower shelves than we could on that one big/deep one!

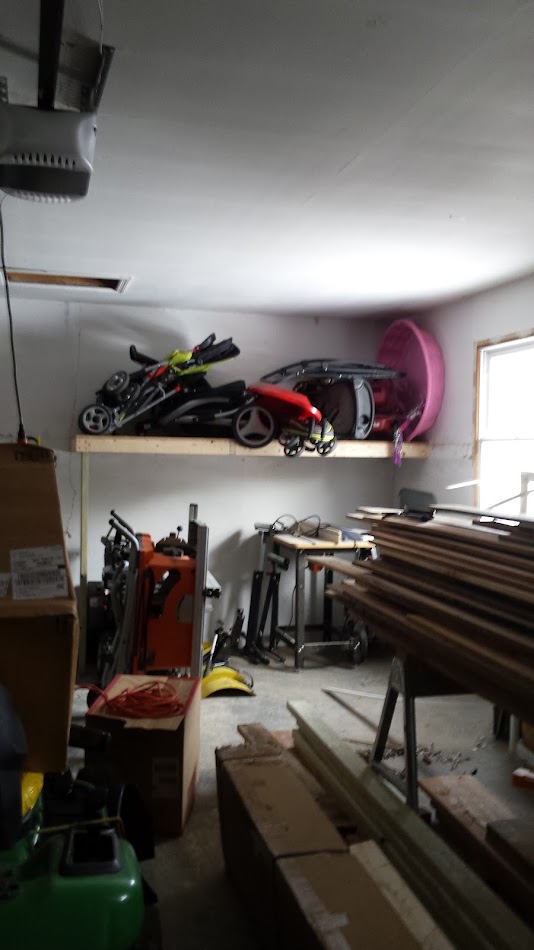
And one shelf for strollers… clearly I need to get rid of some strollers
We finally did some yard cleanup in preparation for snow so this time we were prepared for the snow that came!
The main thing not really shown was the new plywood on the playroom and office floors – nice and sturdy! The master bedroom will get new plywood next and we’ll start taping/spackling soon. We’re having flooring for the master made now too (more cherry).
That’s a long post, i’m sure more has been done i’ve missed but right now we are in holiday mode – getting ready for our first christmas here! The girls are excited – cookie baking this weekend and next week!
Hopefully the pictures all load, I’ve heard they don’t always load – I’m going to try to figure out a new way to show photos if these don’t work well but initial research was not promising.