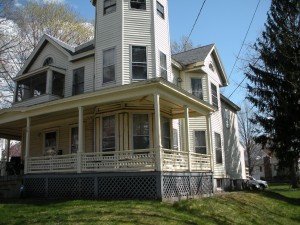
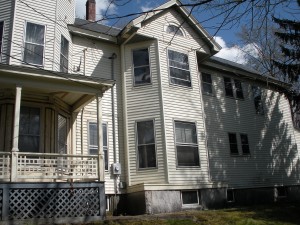
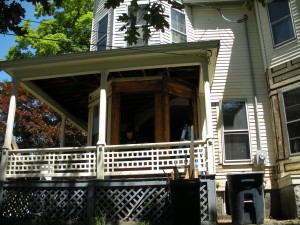
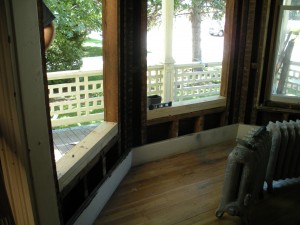
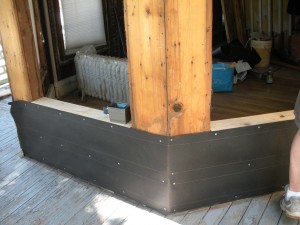
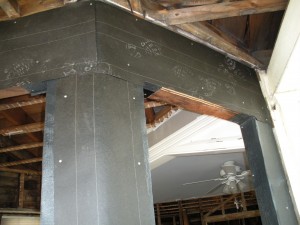
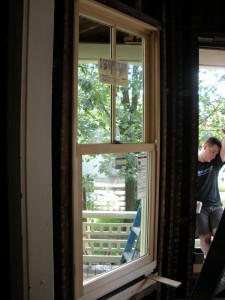
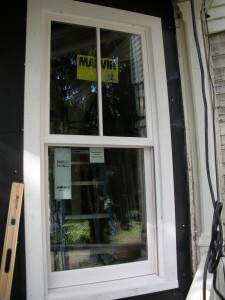
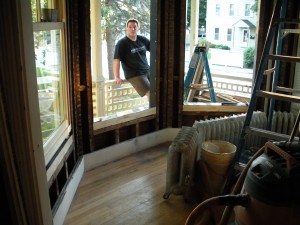
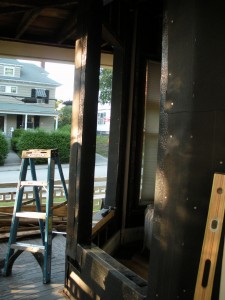
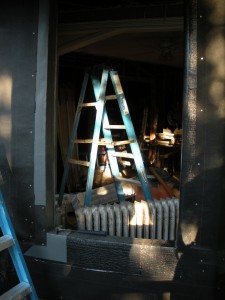
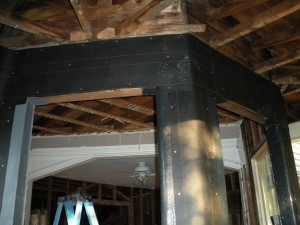
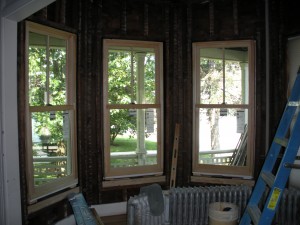
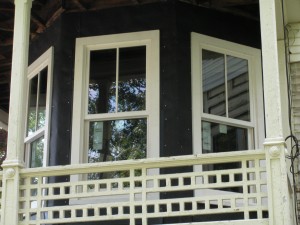
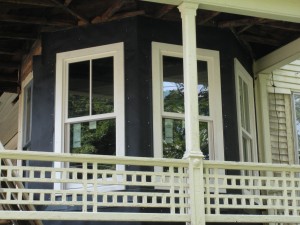
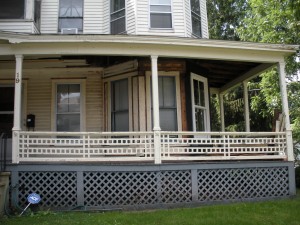
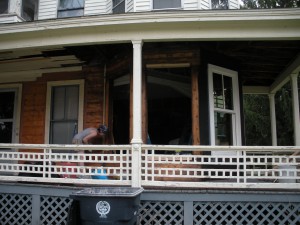
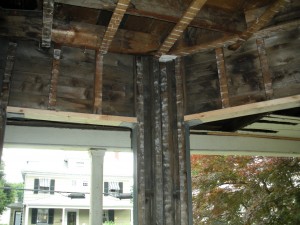
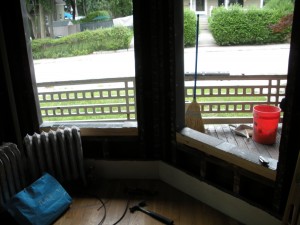
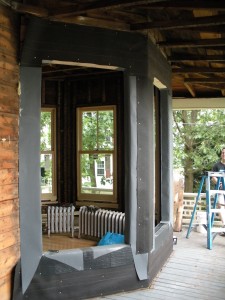
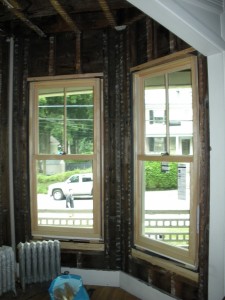
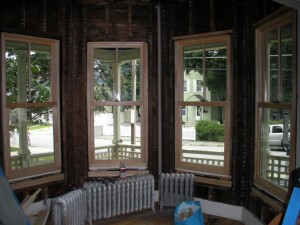
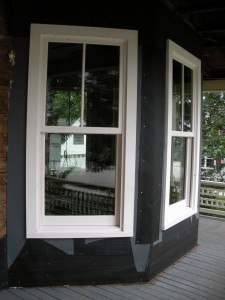
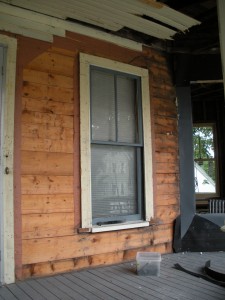
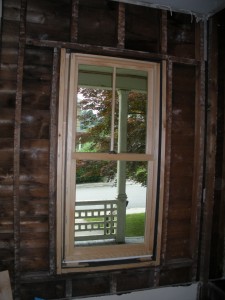
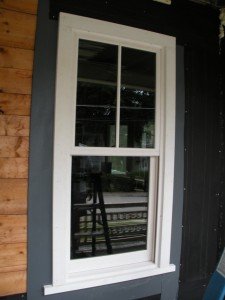
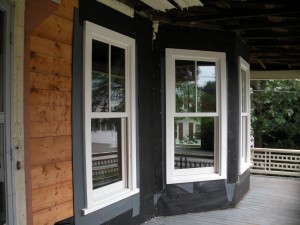
There are a lot of windows on these two sides of the house because of the cupola (5) and the diningroom bump out (3). We started this project in June 2010. First here are some pictures of the house before we started replacing windows.
June 19, 2010
We started the window replacement with the cupola windows.
We started with the decision to do 2 windows toward the back of the cupola to start.
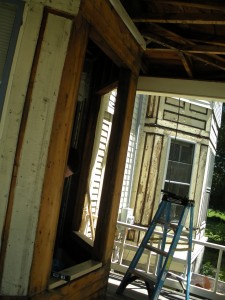
We had to remove all the decorative window box wood – we’ll have to redo this design with new wood.
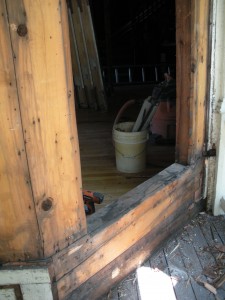
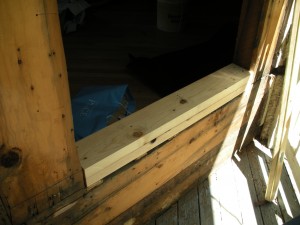
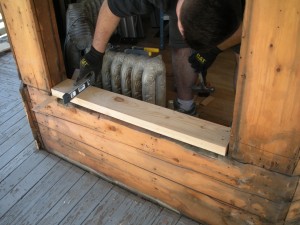
Our new windows are a little shorter (on purpose – we’d like to be able to fit outlets under the windows), so we had to build up the bottom a bit.
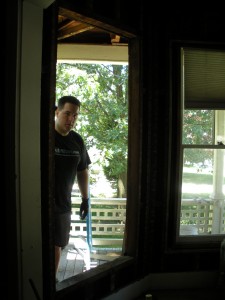
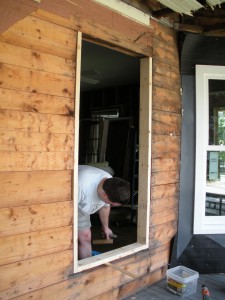
While Ryan built up the first window I started taking out the second window.
Both windows all stripped down at this point and Ryan built up the second window bottom.
At this point I got started cutting felt paper and ice shield to install.
We got both windows just about prepped before installing either.
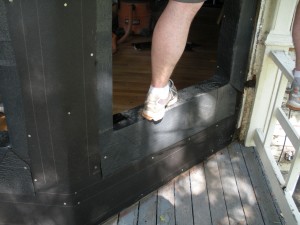
Awwww… someone’s walking on the outside walls!!!
The first window went pretty smoothly. Of course it didn’t have to line up with anything, just be level so it was the easiest of them all.
And what a pretty window it is 🙂 At this point we decided to order some pizza for dinner so we could keep working and we also decided we could manage a third window before dark so we started the demo of the third window.
It went pretty quickly since we had the hang of it at this point.
We got the felt paper and ice shield up on the third pretty quickly.
At this point we installed the second and third windows. They were slightly more difficult because they have to be level AND the sills all have to be level with each other since they will connect around the cupola in the window box design. I think we managed okay and we got all the tools picked up before dark.
Pictures of the finished 3 windows!
June 26, 2010
We finally have a full weekend to work on the house and we got right to work today. We installed the last 2 windows in the cupola in the livingroom. They were a little more work than the first three, the header had to be replaced on these so the windows would fit.
June 27, 2010
Only one window left to install in the livingroom and it only took us 2 hours to do it this time.
The original window was a little wider than the cupola windows but we decided to make it the same width, I don’t remember how large the next size up would have been but we would have had to adjust the rough in so this was our best option.
