When we took off the aluminum siding we saw that the original windows’ sills were all cut. It would be a lot of work to refinish and repair these windows plus they would still be single paned so we’d need storms anyway. We decided to replace the windows in the whole house – starting with the first 3 rooms we demolished.
Step one after ordering the windows and removing the aluminum siding was to remove the cedar siding on this side of the house. Hopefully this won’t have to be repeated on the rest of the house but since the back part of the house was an addition and the siding didn’t match up (we want it to match up) we decided to remove it all before putting in the windows then put it all back up with no divider where the addition is.
July 25-26, 2009
We spent Saturday afternoon preparing the siding (removing nails from the aluminum siding), removing the last bits of aluminum siding that were in the way and then started removing the cedar siding from the top down. We got a few rows done before it got dark.
Sunday we started early and by 1pm we had this: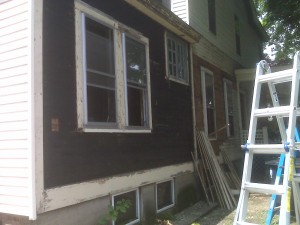
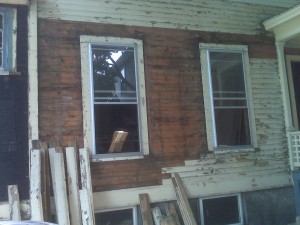
Next up is to finish removing nails from the siding and start stripping it down. For now it’s all safely inside and hopefully in the evenings I’ll have time to work on this.
August 8, 2009:
Ryan spent saturday installing the bathroom window, this involved moving the window lower from it’s original position.
Here’s the original window we started with. Notice how the window goes right up to the soffit.
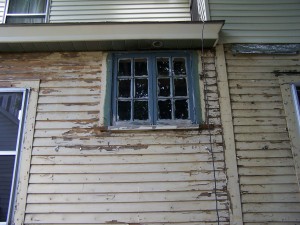
Here it is after the hole was moved down and the wall is now ready for the new window.
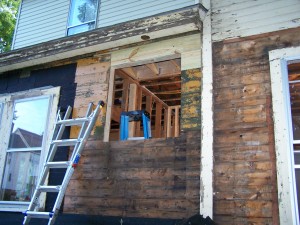
And here is the finished window – outside:
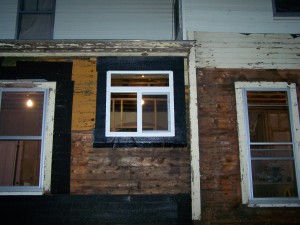
Inside:
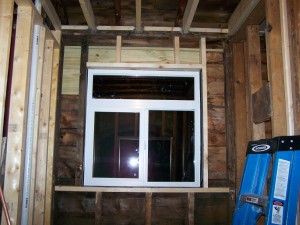
August 15-16, 2009
Mom and Dad came out to help install the new windows. After a VERY hot, humid and productive window we had the 4 windows in and the siding started as well as a beautiful new cap designed for the windows (and installed except for the mouldings).
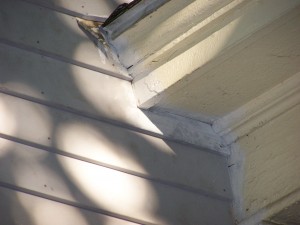
And a closeup of the window cap:
August 20-23, 2009 (Anniversary Vacation)
Thur-Sunday we worked on siding (around the heat/humidity and RAIN unfortunately), progress was slow at times but by the end of our little vacation we had this much completed:
Sunday August 30, 2009.
It rained all day Saturday and with Ryan working all weekend it was a slow process of slowly moving the ladder by myself to get the soffit stripped, sanded then primed. But after a full day – I got the soffit in tip top shape!
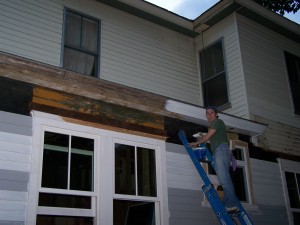
And here is the final primed soffit:
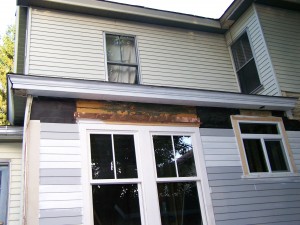
September 19-20, 2009
Ryan and I spent the weekend working on siding, first up we had to cut the siding to wrap around the window caps:
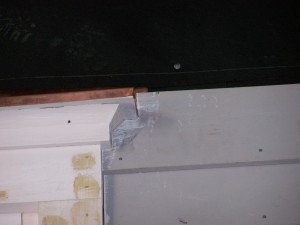
Then we installed the frieze board which had to be cut to fit over the top of the siding:
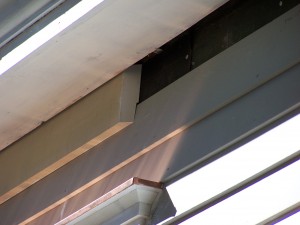
On Sunday we started out by making the drip cap for the bathroom window and then putting up the last of the frieze board. Here’s a closeup of the drip cap we made:
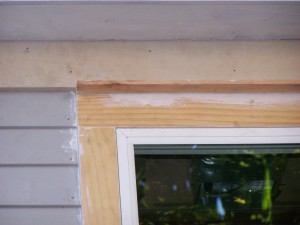
Then the siding continued, this time we had to cut the siding to wrap around the moulding on the porch roof:
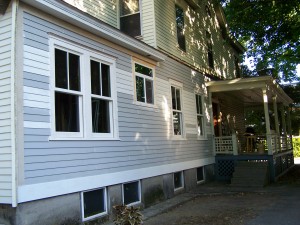
Finally we got as far as we could before it got dark:
Tuesday, September 22, 2009
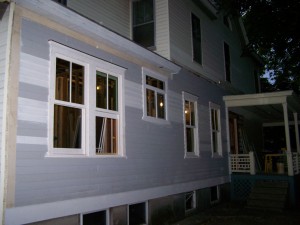
Tuesday night we decided to finish getting the siding done before any rain. We had removed siding up above the porch roof level so we had 1 full row of siding to put up and then we patched with some old siding to be replaced when we do the upstairs. Here’s the house siding completed except for the porch (around the door):
Friday August 25, 2009
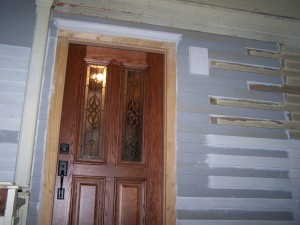
We stripped down the siding around the door so that Saturday we could jump right in with re-siding. Then we made the block for the porch light out of 5/4″ stock since it needed to sit over night (glued).
Saturday August 26, 2009
We started bright and early since it was such a beautiful day (a little on the cool side).
Here we are just getting started:
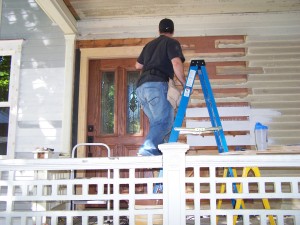
And here the siding starts to go up:
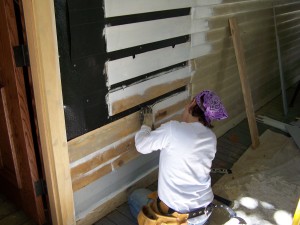
This was the point where we needed to stop and put in the block for the light that we made Friday night. We also had to make and attach the cap on top of the door before we could continue:
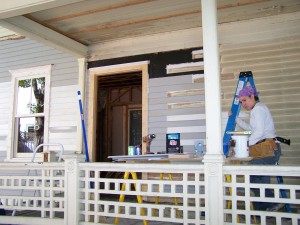
And we’re done!
