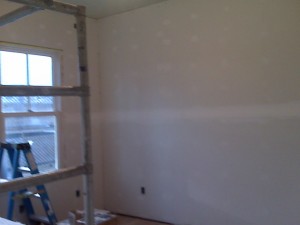
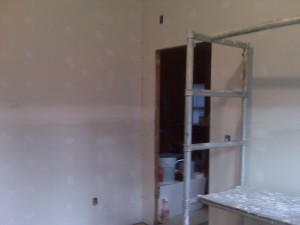
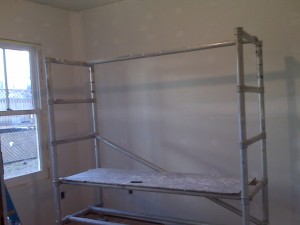
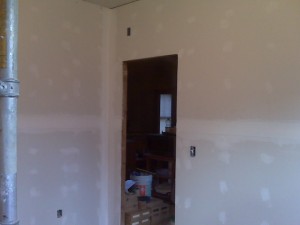
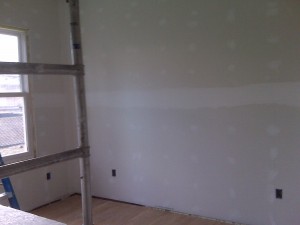
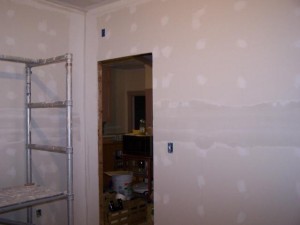
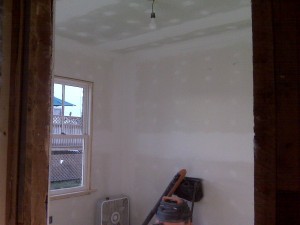
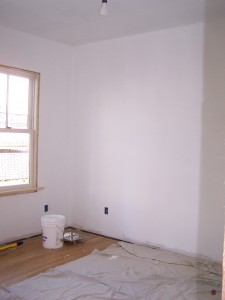
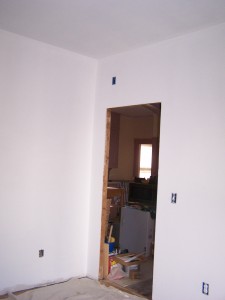
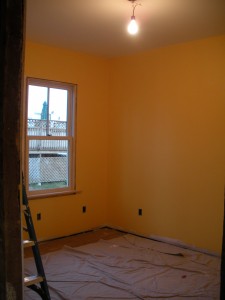
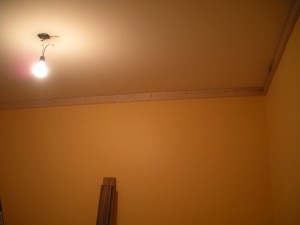
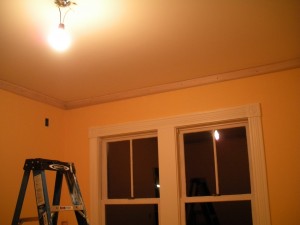
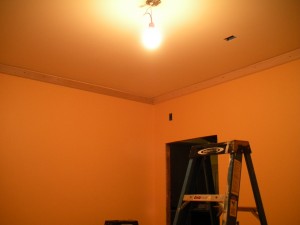
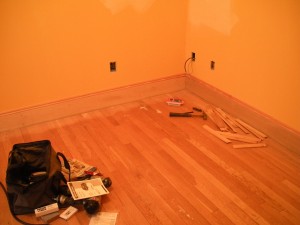
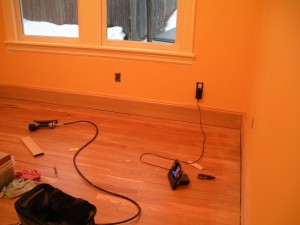
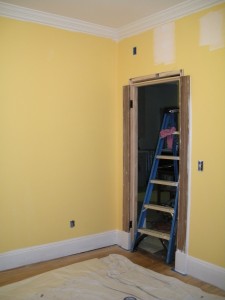
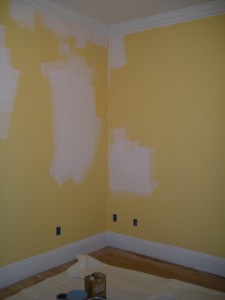
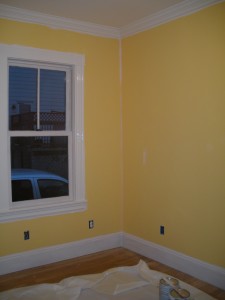
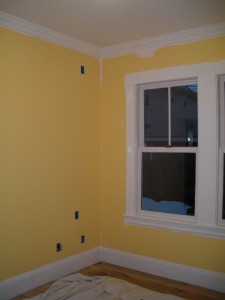
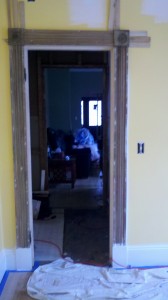
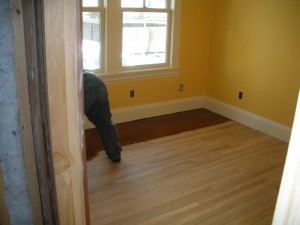
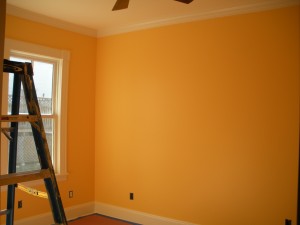
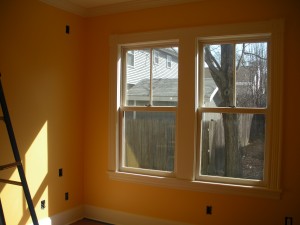
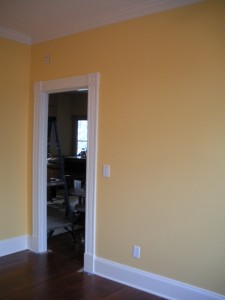
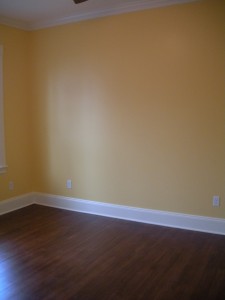
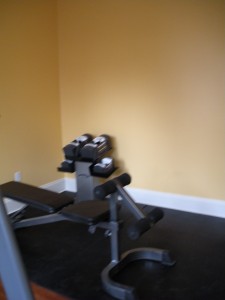
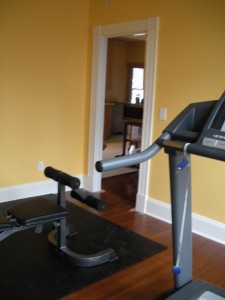
The Gym (blue room) is the first room we decided to renovate. It was originally a small bedroom (no closet) with a door that went directly to the back porch and another door to the interior of the house (near the bathroom).
We closed off the door to the porch so we’d have a more usable room (especially since it was so small) and eventually the porch will be taken off and an attached garage will be added so this door didn’t make sense.
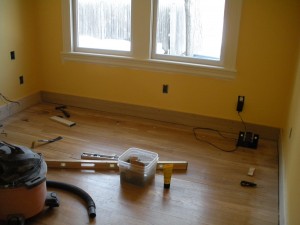
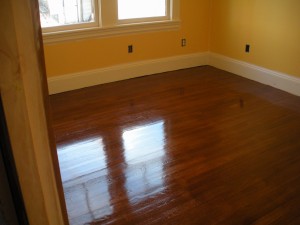
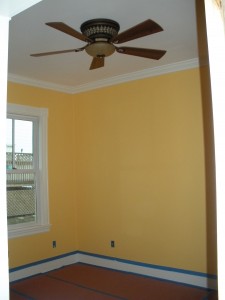
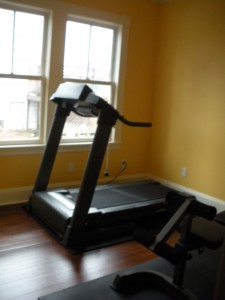
Here is the before picture and here is the current progress picture (where we are now). Farther below you will find a journal of the progress we made with pictures (chronologically):
| The Original Room | Current Progress: Almost Done! (just needs a door refinished) |
 |
 |
March 15, 2009
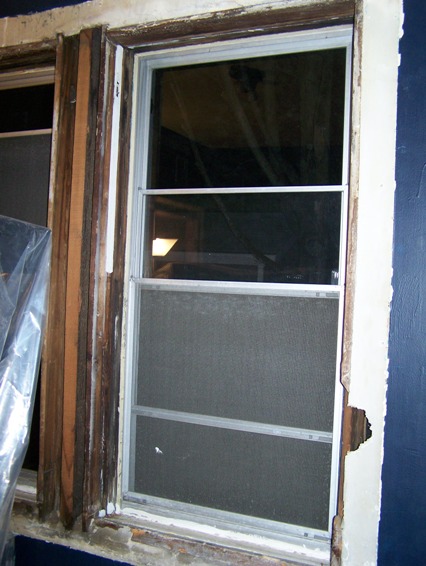
Ryan and I removed the trim:
March 21, 2009
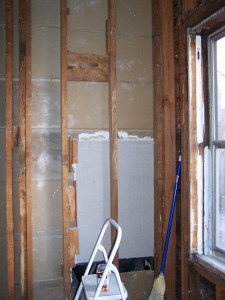
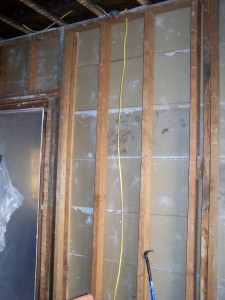
Ryan’s dad came out and the three of us demolished the rest of the room.
April 11, 2009
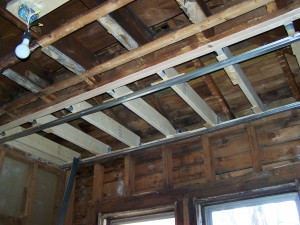
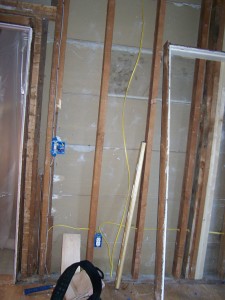
The roof was not supported correctly so we added new supports. One of the doors we decided to remove and close off as a wall so some new studs had to be added. My family was out so my dad and brother helped with this project.
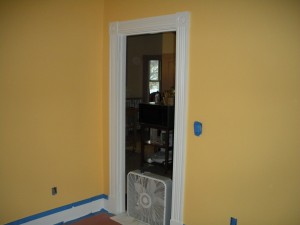
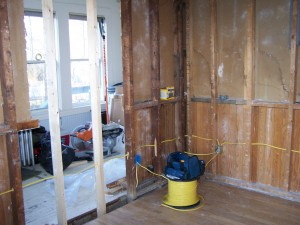
We also framed the doorway to the porch into a wall since the back porch didn’t need to enter the house in two spots. This picture was taken after the electrical was also run (the next day):
April 12, 2009
While dad was still out, we added new wiring to the room.
The electrical feed for the room starts by the door and feeds the first outlet, a separate feed goes to the switch for the light circuit.
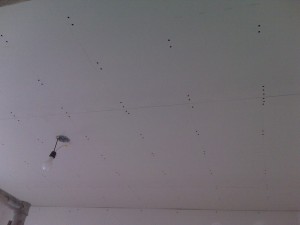
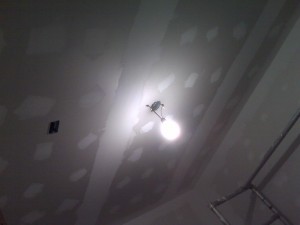
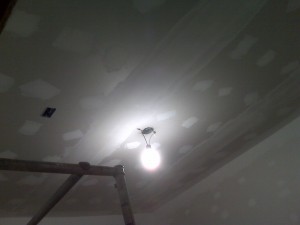
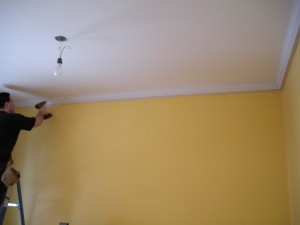
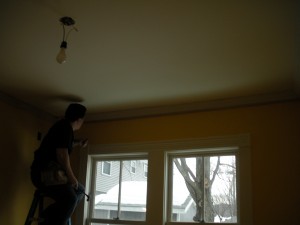
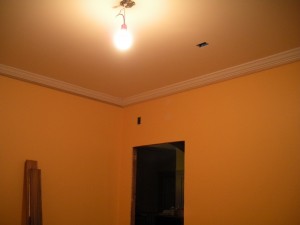
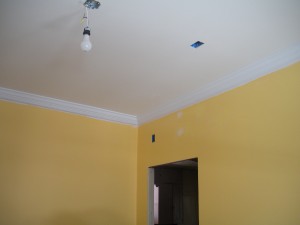
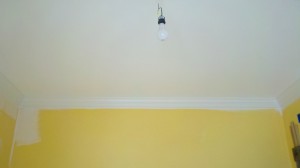
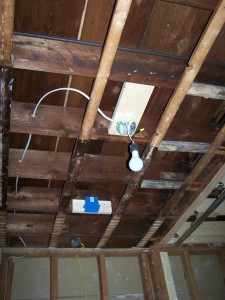
Temporary light – but the fan box will hold a fan/light combo when the room is completed.
December 5, 2010
The electrical was hooked up and tested… it had been run temporarily but it’s now all ready to go. We also hooked up the cable/internet jacks!
December 20, 2010
Drywall is up! Dad came out to help and this room went pretty quickly compared to the tv room.
March 8, 2010
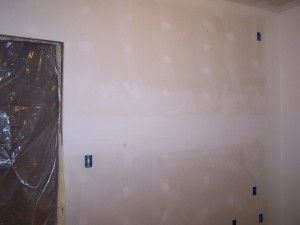
After work I tightened all the wall screws and then taped the seams and spackled the screws. Step one of the taping/spackling has begun!
March 9, 2010
After work I taped the corners.
March 10, 2010
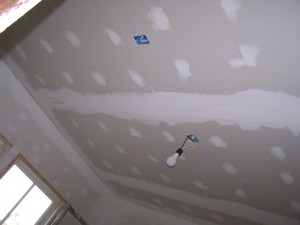
The ceiling screws have been secured (ready to be taped) and the first coat on the wall seams was completed.
Friday March 12, 2010
Ryan taped the ceiling and I spackled the ceiling screws and and taped 2 of the ceiling corners. Then I got a first coat on one side of the wall corners.
Saturday March 20, 2010
I finished up the first coat on the wall corners and got the final coat on the wall seams and screws.
Sunday March 21, 2010
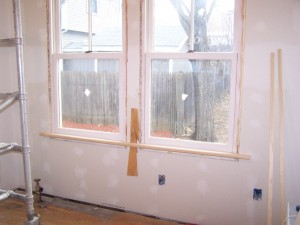
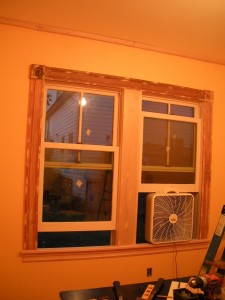
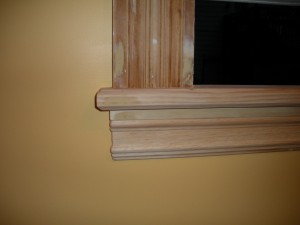
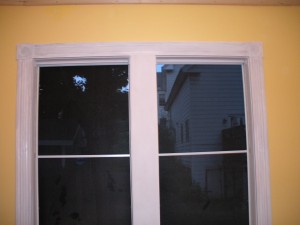
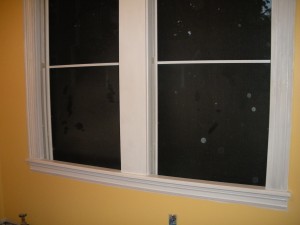
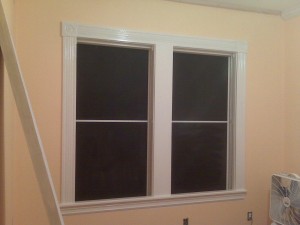
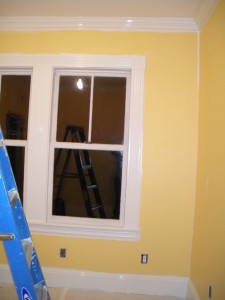
Dad got up early and started working on window sills and jam extensions for both the tv room and gym – here are the windows in the gym now!
I got a first coat on the ceiling seams in the evening.
Monday March 22, 2010
After work Ryan did the second coat on the ceiling.
Tuesday March 23, 2010
After work I got the final coat on the ceiling, the gym is officially ready for sanding!
Wednesday March 24, 2010
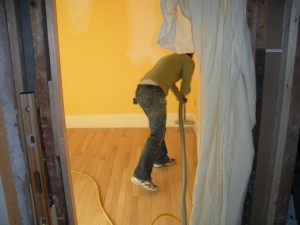
I started sanding the gym, I got one and a half walls done. There’s a lot left to go!
Sunday April 4, 2010
I got the rest of the gym sanded so Dad could take his scaffolding back home, that’s some motivation!
Sunday April 11, 2010
While Ryan tiled the bathroom I got the gym primed!
April 13, 2010
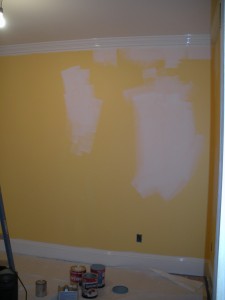
The first coat of paint on the walls – Torchlight!
April 15, 2010
First coat of paint on the ceiling – done!
July 10, 2010
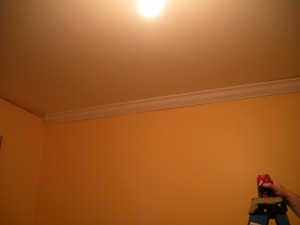
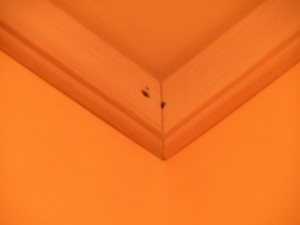
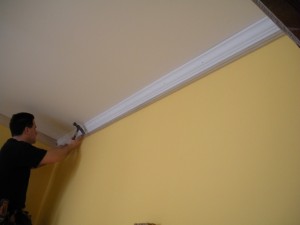
Hot, humid and rainy today. We decided to stick to indoor projects. First we started working on the crown molding in the gym again. We got the first piece coped and installed and started on the second.
Crown molding was a little rough on my arms (holding up above my head) so we switched to working on the window trim that was all stripped and ready to be installed. Since this window didn’t have the same fancy trim as the rest of the downstairs it had no window apron to strip and refinish. So we bought a new trim to be used and Ryan coped both ends – it came out great!
I got all the nail holes filled. Maybe this week I’ll have time to prime and paint the window trim so the gym will look a little more finished.
July 11, 2010
I got the trim primed.
July 12, 2010
After work last night I broke out the paint again. I put the first coat of paint on the window trim! Of course painting at night comes with lots of little tiny bugs that can fit through the screen so there were some casualties and there will need to be some sanding before the second coat now 🙂
February 12, 2011
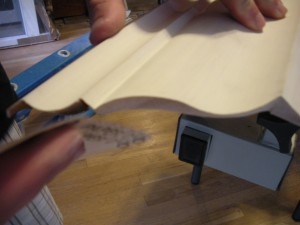
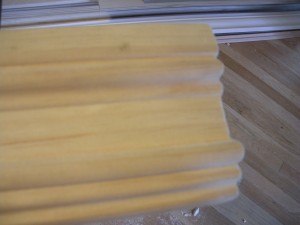
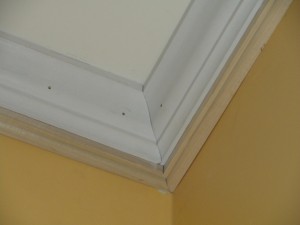
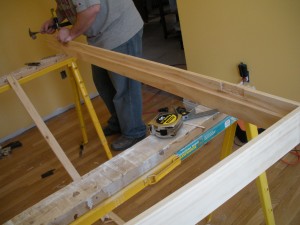
Finally back to the gym after a short hiatus (had to get insulation in the rest of the downstairs first). We decided to make the crown molding a little differently than originally planned and started. We made a nailer board that is actually visible (decorative) and used a smaller molding than before. It took a day to make the nailer boards and install them (made of poplar).
February 13, 2011
First – for future reference -be careful when buying moldings at home depot, these were marked at 53/37 angles however that’s not a standard spring angle (37) for crown molding, so we decided to actually measure the angle using some of the nifty tools Ryan got for xmas. Right on the dot it was 38 degrees spring. Which is standard, so that’s what we used.
We also decided to start on a different side this time around, leaving the crazy bowed ceiling side for 3rd instead of second, and helping to hide our last coped corner behind the door in case it didn’t come out great.
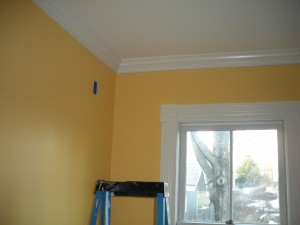
Just a quick note about the piece above the window … this is where our ceiling bows down and also where our wall bows a bit. So to accommodate these curves we had to scribe and cut the molding along the ceiling. Finally in the left corner we had to just leave a gap (we could only bend it so much) and decided to spackle the ceiling down to match the molding in that one corner. We were actually quite happy with this piece when done but it was a lot of work.
February 19, 2011
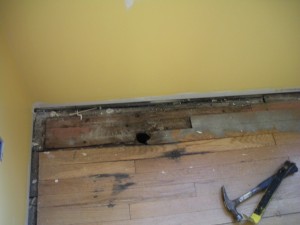
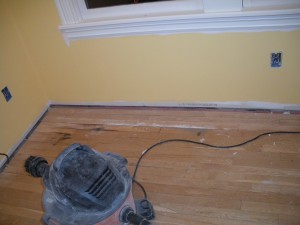
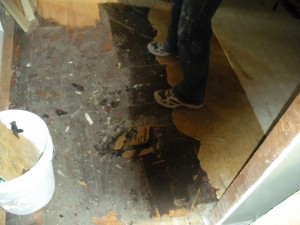
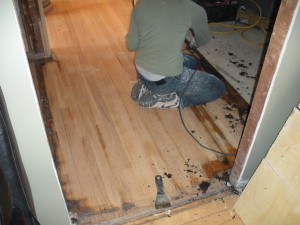
We made some good progress Saturday, Ryan was up very early and started working on removing the pipe for the gym radiator so he could patch the floor. So the first thing I got to do after waking up was to bag up the asbestos – fun 🙂
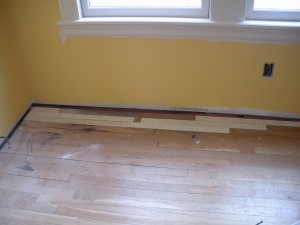
Once the pipe was removed he worked to patch the floor while I finished caulking the crown molding and spackling. We had some leftover oak flooring he used to patch the floor.
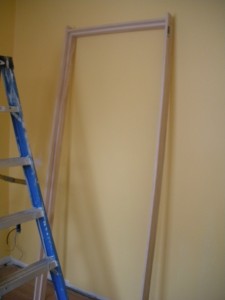
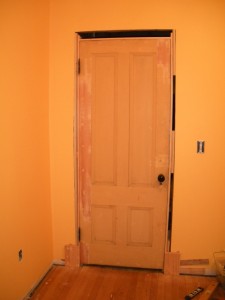
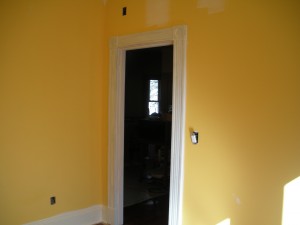
After lunch we made the door frame after picking out a door (we have since switched the door we picked but the same door frame we made still works.
Once the door frame was made I sanded and primed the crown molding.
February 20, 2011
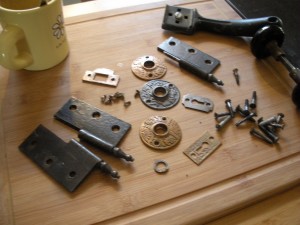
Another early start today with the dreaded door hanging to do. The first step was selecting a different door (or hinges) that had the right in-swing we needed. Once we found one (that wouldn’t be needed elsewhere), I stripped down the edges of the door so it wouldn’t be a problem to hang it. I also cleaned all the paint off the hardware for the door by boiling it.
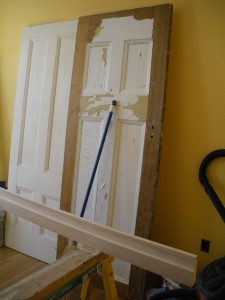
Door stripped around the edges, this went much faster than expected because there was no varnish under the paint!
(Note: we didn’t end up using this door because it was too warped. Instead we used the attic door which didn’t need to be stripped before hanging.)
While I was doing this, Ryan was working on the door frame, getting it ready to hang the door.
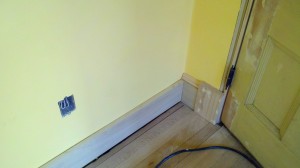
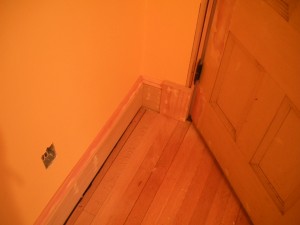
Just in time to help install the door frame and hang the door, Ryan’s parents showed up! It took a few hours and a few doors but finally we got a door that was straight and fit and after some sanding down it hangs nice and even. After the door was up Ryan installed the plinth blocks while we got ready to head to dinner.
I started sanding around the edge of the floor while Ryan and his Dad hung the door.
February 25, 2011
Friday night, after Ryan got home I finished sandng around the edge of the gym while he worked on starting the baseboards. This wall was the hardest wall because there is no way for the baseboard to float under the floor and the floor bows. The other walls have room for the baseboard to float a bit to help make it level.
March 5-6, 2011
Saturday we got started with the baseboards, making the main part out of the poplar we have. Then following it with a cap piece we bought at a millwork place in Brookline.
While Ryan finished up the baseboard I went around and primed all our touchups on the wall and ceiling and then caulked the baseboards. Finally Ryan installed the two side pieces of trim for the gym door, not having time to put the top piece and corners on yet before we broke for dinner and to relax.
Sunday while Ryan worked I did a few projects. First I sanded the baseboards and the window trim. Then I cleaned the room really well before starting to paint. I started with a coat of paint on the crown molding and window trim (final coat on the window trim). Then I primed the baseboards.
After finishing up the painting I started on the door, I’m stripping it down to refinish. I got a good start on the first side before dinner time.
March 9, 2011
Ryan had to work late tonight so after I got home and had some dinner I decided to do some painting. First I sanded the crown molding and baseboards lightly. After cleaning that up I put the second (and final) coat on the crown molding and then the first coat on the baseboards.
March 11, 2011
Friday night Ryan put up the rest of the door trim, although it’s only tacked in place with the nail gun, it still needs to be secured with a few more finish nails before I can caulk and prime it.
March 13, 2011
I got the ceiling cut in and painted – which was a lot of work and unfortunately definitely needs a second coat, at least of cutting in (which was the hard part) 🙂
March 14, 2011
Monday night I did the final coat on the Gym ceiling. This was really just cutting in and then rolling the one corner we had patched. The rest of the ceiling didn’t need a third (or fourth) coat 🙂
March 19, 2011
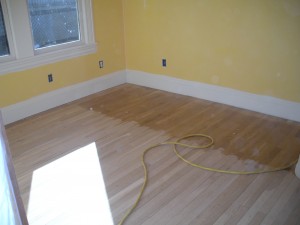
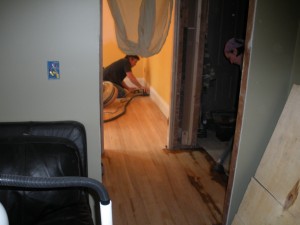
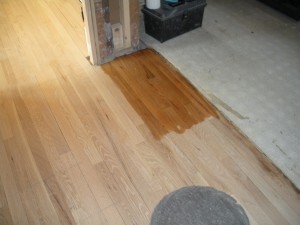
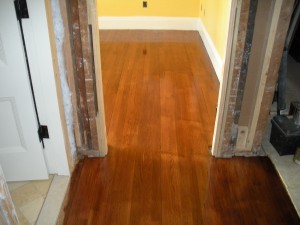
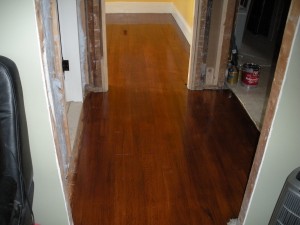
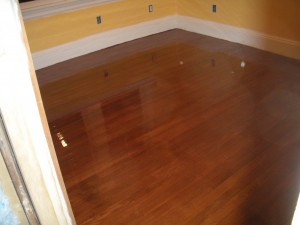
The Gym Floor!!! Dad spent the morning sanding it down and we did a bonus section of the hallway outside the gym (leading into the kitchen). By lunch it was ready to coat (so we headed to home depot to get some stained poly).
And back from lunch, we decided to try mixing a tinted poly (minwax) with a clear poly (to thin it out a bit). We didn’t like the oak with a clear coat and wanted a darker floor. Here’s our new gym floor!
March 20, 2011
A quick sand and a second coat and the gym floor was done for the day this morning. Still a tinted coat, the third coat will be a clear coat.
March 21, 2011
That’s the third and final coat, all done! And boy does my back hurt now (and my head from the fumes!). I think next time i’ll wear a mask. But for now it’s off to bed, I’m exhausted!
March 25, 2011
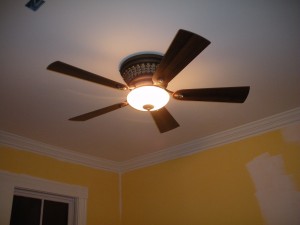
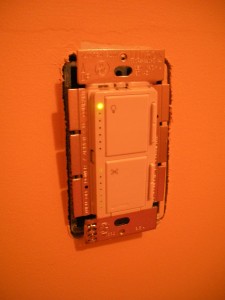
I was excited that our fan for the gym arrived. We got a 52″ fan. The only downside was that it came with a control module and a remote instead of using a regular control. We had planned on using the Maestro control we purchased which included a fan module. So after pulling out the fan and taking a look I decided to try unhooking the wireless control module they had and replacing it with ours.
A couple hours later and it worked! I was very surprised this worked, I was sure I’d be plugging it all back in as best I could (I did jot some notes down). So the fan is in and the fancy switch we like works!
March 26-27, 2011
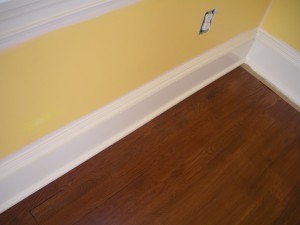
While I was down in NYC last weekend, Ryan was home and he made some great progress on the gym. He added the shoe molding to the baseboard since the floors were done, did the final coat of paint on the baseboard and primed the trim around the door!
April 3, 2011
Yesterday I got a coat of paint on the trim, today I sanded that coat lightly then painted the walls.
April 10, 2011
I got the final coat on the gym walls! The gym is so close now!
April 11, 2011
April 13, 2011
Gym setup – mats installed and equipment moved in.
Here are some pictures of the gym all set up. I also designed out what i want for a small entertainment center and I ordered the wall mount for the tv so I’m looking forward to getting that part in there as well.
All that’s left is to refinish the gym door – not finished yet 🙂
