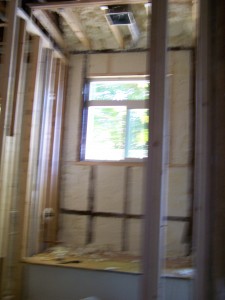
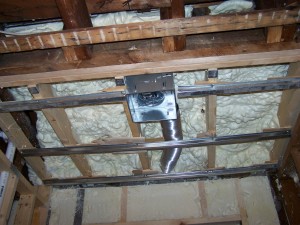
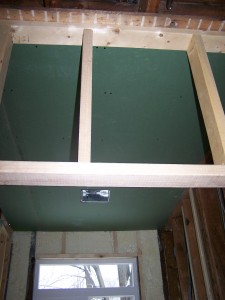
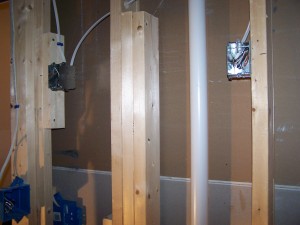
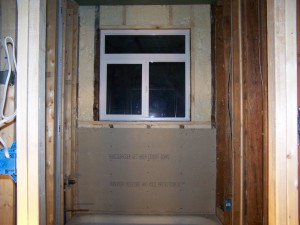
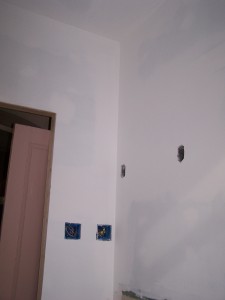
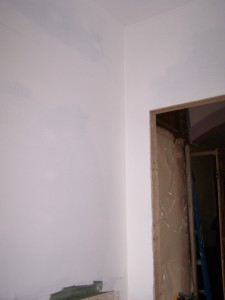
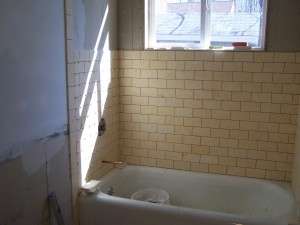
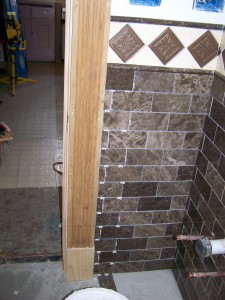
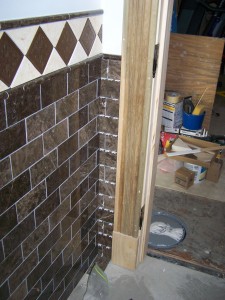
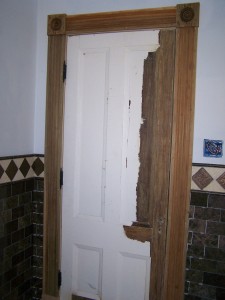
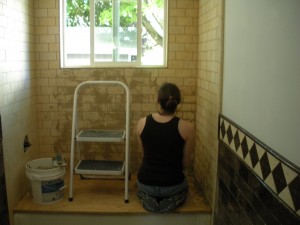
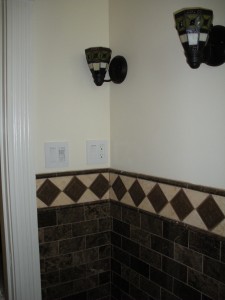
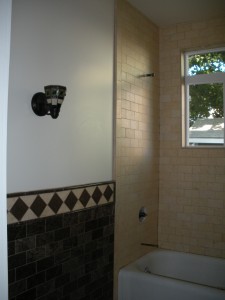
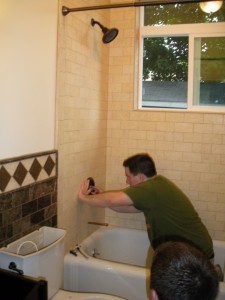
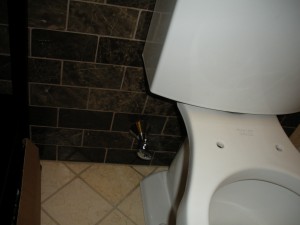
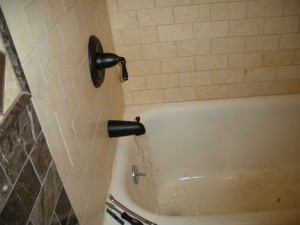
The bathroom is one of the first rooms we decided to renovate. (We started with 3 rooms when we first moved in). This room isn’t changing much, but needed insulation and to be renovated in general. We did decide to lower the window a bit so it looks more even from the outside. We are leaving the original bathtub but putting up tile on the walls instead of a shower surround. The rest of the bathroom will be tiled up 4′ high and a new toilet and vanity with sconces will be installed when completed.
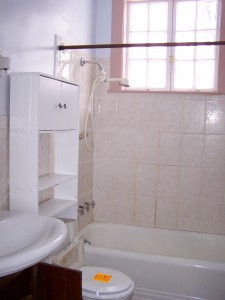
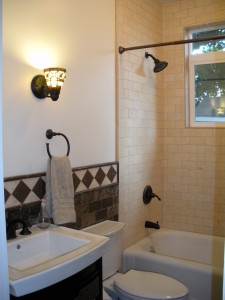
Here is the before picture and here is the current progress picture (where we are now). Farther below you will find a journal of the progress we made with pictures (chronologically):
| The Original Room | Current Progress: Almost done! |
 |
 |
Thursday April 16, 2009.
Once we decided to go with spray foam insulation we realized we couldn’t renovate room by room. So we decided to do the 2 rooms and 1 bathroom that are on the left side of the house all at once.
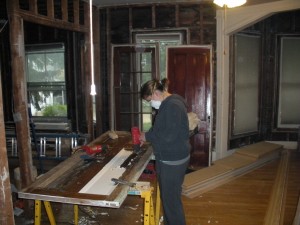
The bathroom was the last of the 3 rooms to be demolished, we did the demo on Thursday April 16, 2009, in doing so we realized what bad shape the studs in the walls and the floor were in. The floor boards were rotting from water leaking (it is a bathroom).
Demolition complete: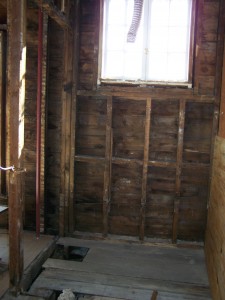
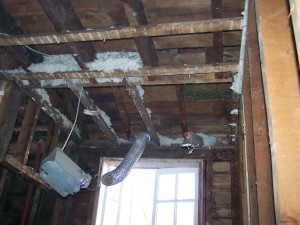
So after demo was complete, we got a new subfloor down and started re-framing the walls.
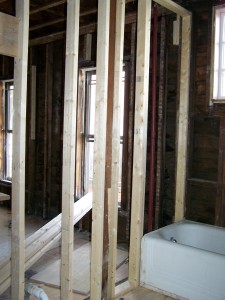
…
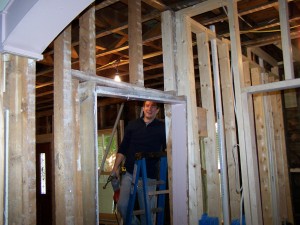
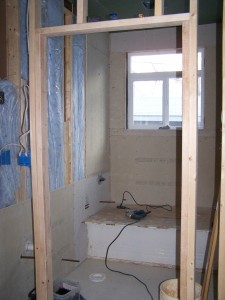
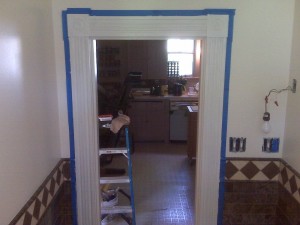
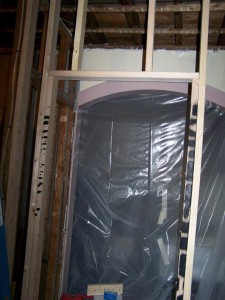
Framing continues, we reframed the wall that includes the doorway to the bathroom.
Ryan just finished:
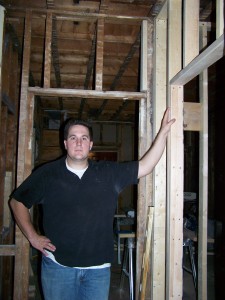
A closeup of the door framing:
Sunday May 31, 2009.
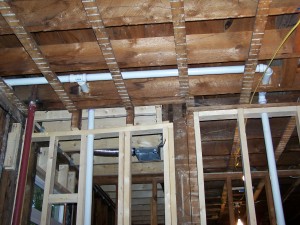
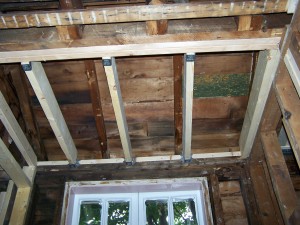
Reinforced the ceiling supports in the bathroom ceiling.
Sunday, June 6, 2009.
Ryan installs the ceiling supports.
Saturday-Sunday June 20-21,2009.
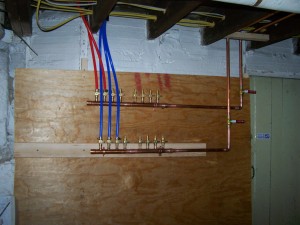
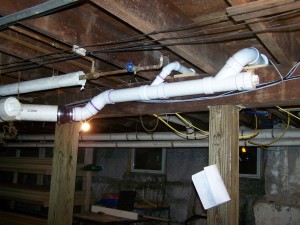
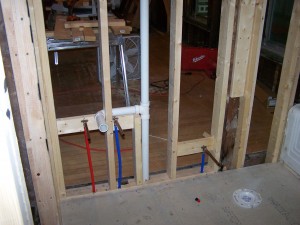
The new plumbing has been started.
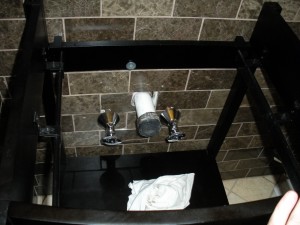
The sink and toilet Pex water lines and drains:
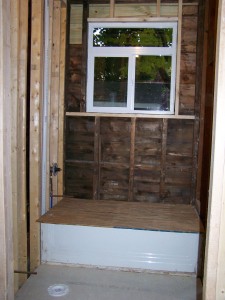
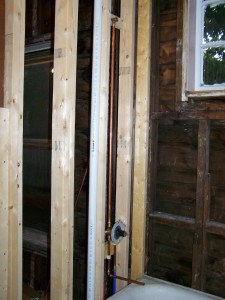
The shower view:
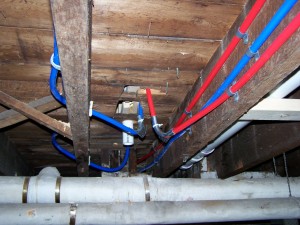
Pex in the basement – running to the bathroom:
August 8-9, 2009
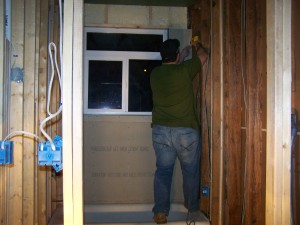
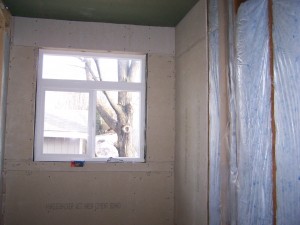
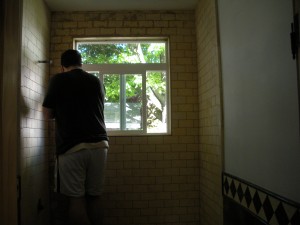
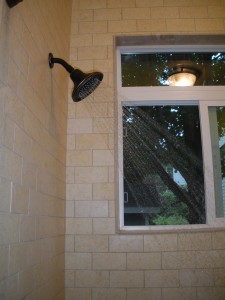
Ryan installed the bathroom window this weekend. We had the siding stripped off already, but we had to take out the old window, reframe the new one lower and then install it.
October 12, 2009
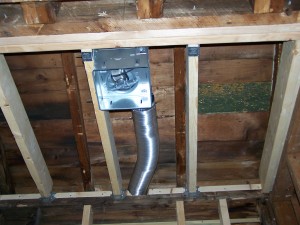
Getting ready for insulation we had to get the ceiling fan wired up.
October 17-18, 2009
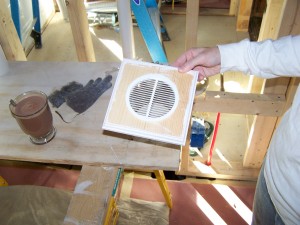
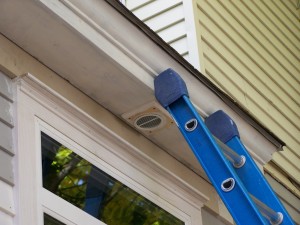
Aimee and Jason came out this weekend to help finish up some plumbing stuff before insulation (venting). Ryan made a soffit cover for the bathroom fan/vent and then installed the bathroom vent.
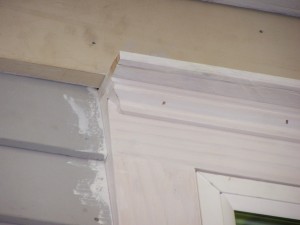
We installed a moulding over the bathroom window on the outside. It has a different window cap than the other windows but since it’s a different shape/type we thought a moulding would add to the look.
October 19, 2009
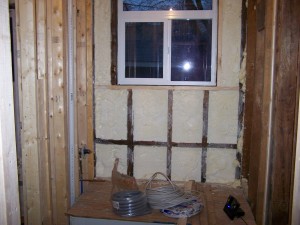
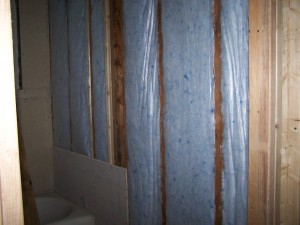
Insulation! The spray foam insulation was sprayed in today! Here is what the bathroom looks like after insulation. It sure is quieter in here!
December 19, 2009
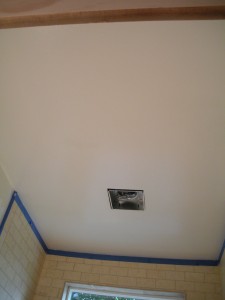
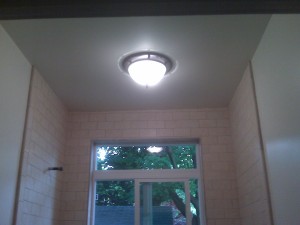
Not much to be done in the bathroom between insulation and drywall. I’m sure we did some electrical wiring but since we hadn’t planned on drywalling the bathroom walls, just the ceiling it wasn’t much. Dad came out to help drywall in December and here’s a picture of the bathroom ceiling all done.
December 28, 2009-January 1, 2010
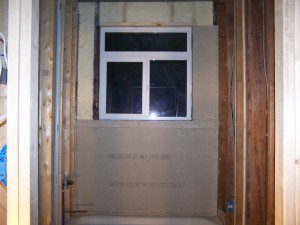
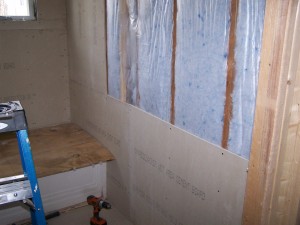
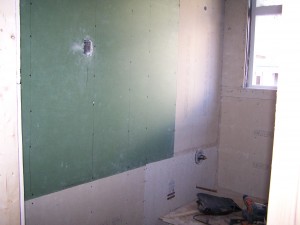
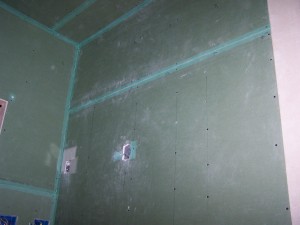
We took a week off after xmas to work on the house. A lot of focus was on taping and spackling the tvroom but we also managed to work on the bathroom. We’re installing cement board in the shower area and on the walls 3′ up (width of a hardibacker board). So we started with the exterior wall hardibacker. We also installed the boxes for sconces above the vanity (after we bought the sconces since we weren’t sure what type of light we wanted).
January 23-24, 2010
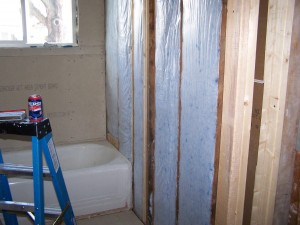
This weekend we started putting the insulation in the bathroom walls for soundproofing. We’re going with safetouch (no fiberglass) – it’s expensive but since we didn’t need that much and there are small cavities to “stuff” we decided it was a good choice for this project. We also started putting the Hardibacker up on the right side wall.
February 6-7, 2010
More hardibacker going up – it’s almost finished at this point. We also ordered the tile for the bathroom – man was that expensive but we both love it and since this is our downstairs bathroom it’s the one that most people will see.
February 13-14, 2010
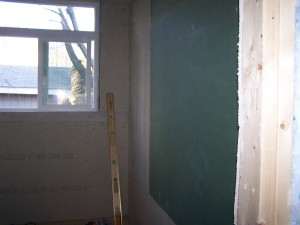
And the hardibacker is about done – we have 3 small pieces in the window to install still but the wall pieces are now done so the drywall can be put up. Plus the insulation in all but the doorway wall is now complete.
February 17, 2010
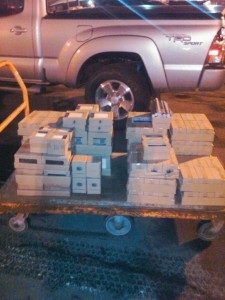
The tile has arrived! Ryan picked it up after work and it will sit in the “gym” until Ryan’s dad can come out to help us tile and until the bathroom is ready to be tiled 🙂
March 7, 2010
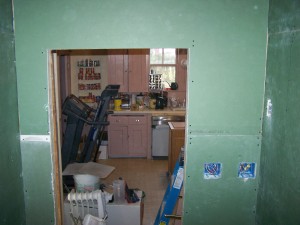
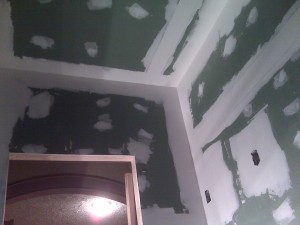
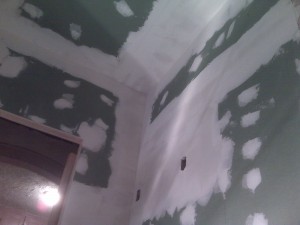
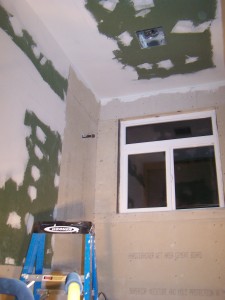
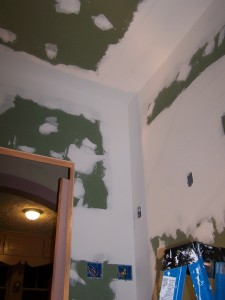
Drywall is up. We spent the day finishing up the bathroom walls. Some reframing of the doorway (so we can have the door swing in instead of out like it originally did). Then we put the drywall up.
March 20, 2010
Plumbing hooked up and tested for leaks – no leaks! Jason and Aimee came out this weekend (with mom and dad too) and Jason finished up the bathroom plumbing. The drain is all hooked in to the original system and the water is hooked up to our new mainfold!
Sunday March 21, 2010
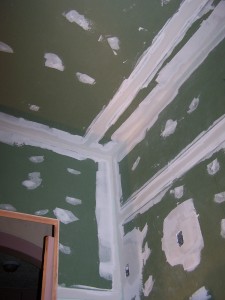
After everyone left I pulled out the spackle tools and went at it. First I had to tighten all the screws and double screw the ceiling (ugg) then I got the bathroom all taped. This mold resistant fiberglass tape is great, it’s self adhesive so I was able to attach it all and then do a skim coat over it.
Monday March 22, 2010
After work I got the first coat of spackle on the bathroom walls and ceiling.
Tuesday March 23, 2010
After work I got the second coat of spackle on the bathroom walls and ceiling (only 1 side of corners was done).
Wednesday March 24, 2010
After work I got the final coat of spackle on the bathroom walls and ceiling (second side of corners).
Thursday March 25, 2010
It was a late night (9:30pm – 12am) but I got the bathroom walls sanded and primed after work! There are some small touchups I want to do but that’s no big deal and we’re ready for tiling!
Friday March 26, 2010
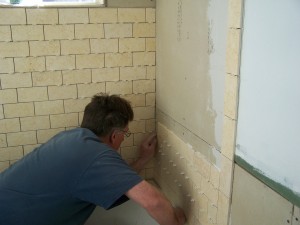
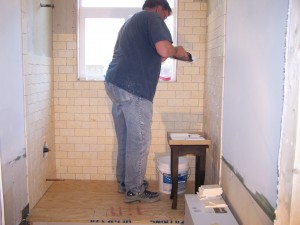
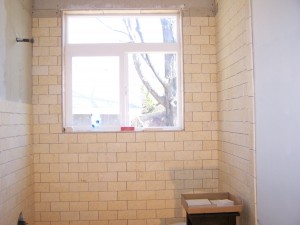
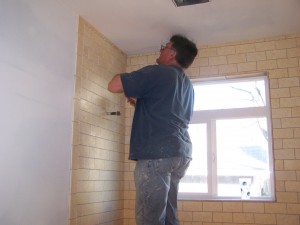
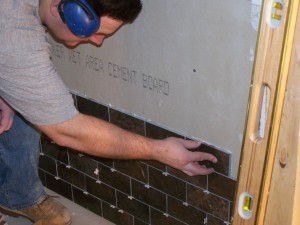
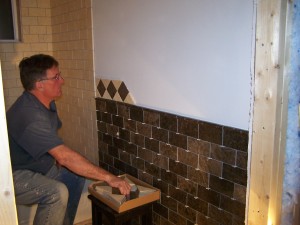
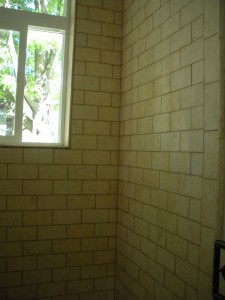
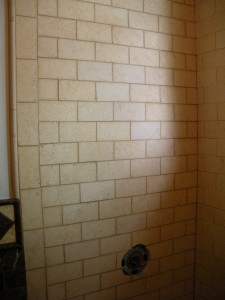
Ryan’s Dad came out this weekend to help us tile the bathroom, and by help “us” I mean he did 98% of the tiling and Ryan cut the tiles. I mostly watched 🙂 Friday after work we got started right away. First came the shower, specifically the window in the shower first.
Saturday March 27, 2010
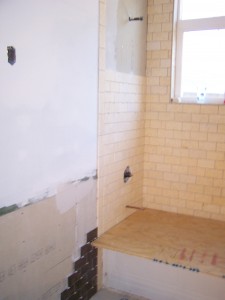
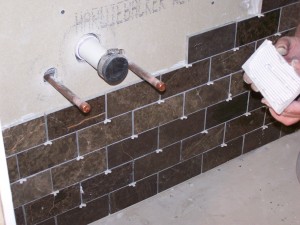
When we got up on Saturday, Mark had been working for a couple of hours already. The shower tiling was coming right along. By lunch time the shower was almost complete.
After lunch it was back to the shower – and it was finished up very quickly. Then on to the wall tiles.
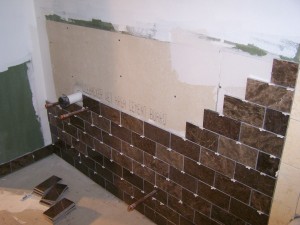
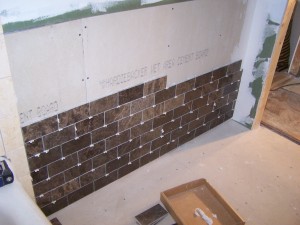
By dinner the walls were about halfway done so we went out for a bite to eat.
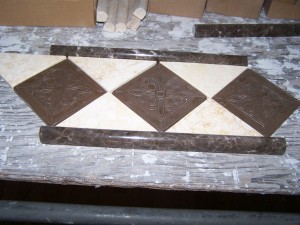
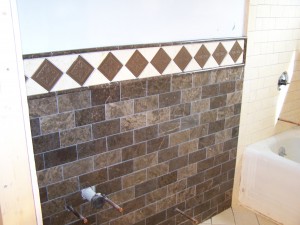
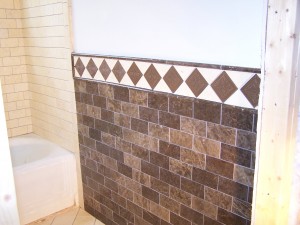
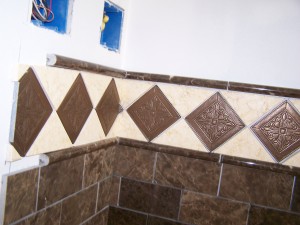
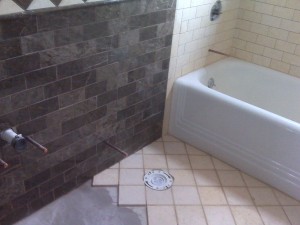
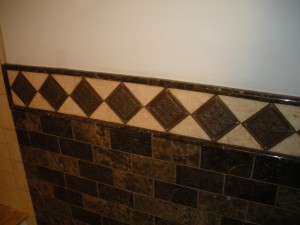
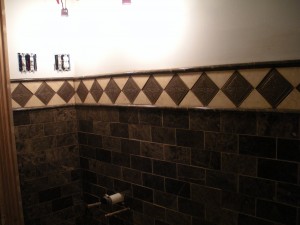
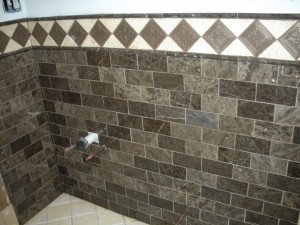
When the dark tile was complete Mark started in on the decorative pattern across the top. Here is the detail laid out.
Before bed Ryan cut some floor tile in half so the floor could be started in the morning without delay.
Sunday March 28, 2010
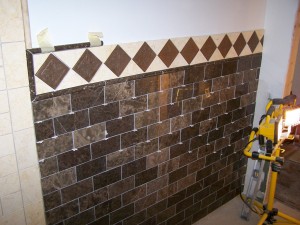
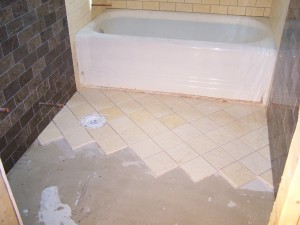
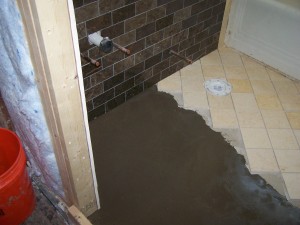
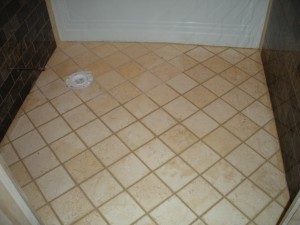
When we woke up Sunday morning Mark had already finished the wall details and gotten a good start on the floor tile. By the time I got back from home depot around 10:30 he was finishing up what could be done for the day. Part of the floor was really un-level so we bought some self leveler which needs to dry over night before the rest of the floor could be tiled. Here is the progress for sunday.
Wednesday March 31, 2010
After work Ryan taught me how to grout and I got the area where the toilet will go grouted. We probably won’t install the toilet right away but at least we’re prepared in case we do. The grout just needs to be sealed in a few days.
Friday April 2, 2010
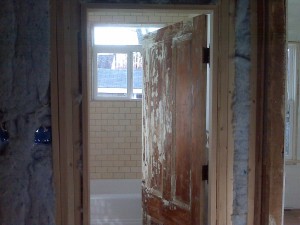
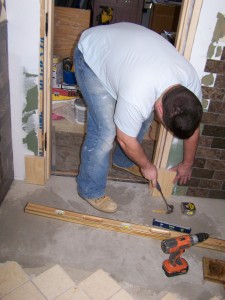
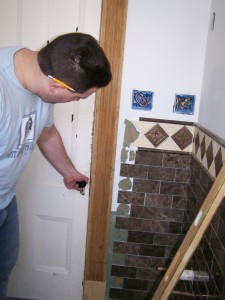
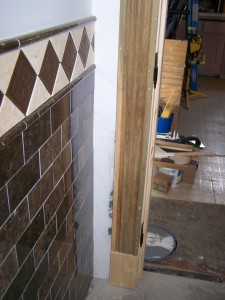
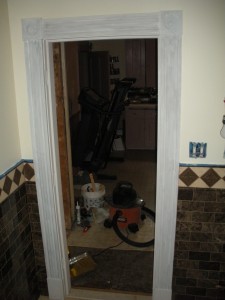
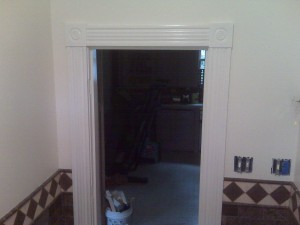
My Dad came out a day early for easter weekend and he and ryan installed a door frame for the bathroom. We went with the smallest door we had available (so it would swing in instead of out like before). The latch needed some work but Dad tinkered with it all weekend and even got that working!
Saturday April 10, 2010
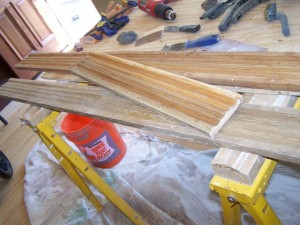
I stripped down the trim for the bathroom in preparation for the next day when we plan on putting up the rest of the wall tile. It took 4 hours but I got one side, the top and 2 rosette’s done. The other side piece was done by Maribeth when she was out visiting last month.
Sunday April 11, 2010
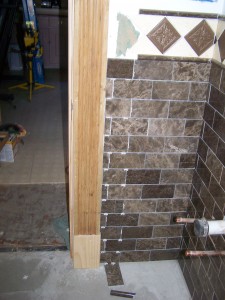
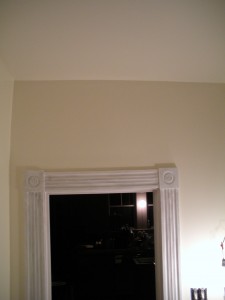
We started out the day getting the trim up in the bathroom – I got it sanded down and Ryan put it up.
Once the trim was up Ryan started tiling. He had to do all the tiling himself so it was up and down to/from the basement to cut the tiles 🙂 While he did this I primed the gym and started stripping the bathroom door.
Sunday May 16, 2010
Finally we hooked up the electrical to the bathroom. Everything seems to work except for the CFL candelabra bulbs. A regular bulb works in the socket for the fan/light so it’s not the wiring, we’ll have to get some regular candelabra bulbs soon.
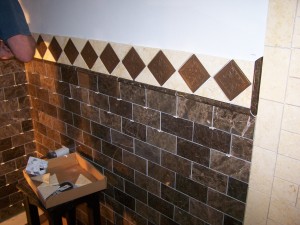
We also grouted the bathroom, 2 walls of the shower are done and the wall tile is all done.
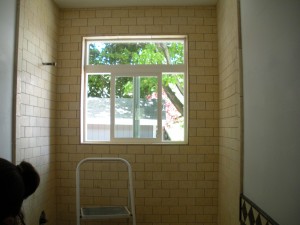
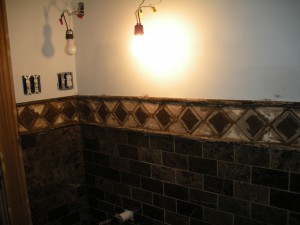
A before picture. While the grout got settled I hooked up the electric to the bathroom. Lights finally 🙂
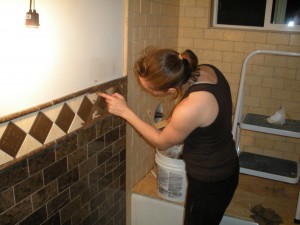
Had to grout the decorative part with my finger - notice I'm using my left hand on this side... my right index finger was bleeding by this point!
Saturday May 22, 2010
Another weekend home to work on the house means I can finish grouting the bathroom. Ryan had to work this weekend but I managed on my own. First up I finished grouting the last wall of the shower.
Once I finished that I up decided to seal the grout on one of the walls. I did 2 coats and it looks good so I assume I did it right 🙂
I finished up the evening by grouting the floor so all grout is now done.
Also today I touched up the primer on the walls/ceiling so they’re ready for paint tomorrow and I sanded the trim so it’s ready for primer.
Sunday May 23, 2010
Before lunch I got a coat of paint on both the ceiling and the walls in the bathroom. Originally we had decided on 2 different colors but they were too close to each other to look good together so I decided to use the ceiling color on the walls as well. We used a mold/mildew resistant paint for the bathroom.
Later I got the trim around the door frame primed.
And then I ended the evening by getting the final coat of paint on the walls and ceiling:
Tuesday May 25, 2010
After work I got the first coat of paint on the bathroom trim, the color we are using for all our trim is called Linen White and we’re using an oil based paint.
Wednesday May 26, 2010
After work I painted the final coat on the trim (hopefully final coat). I gave it a light sanding before painting so it’s nice and smooth.
I also installed the overhead light fixture since the ceiling is now finished.
Thursday May 27, 2010
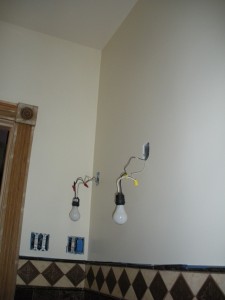
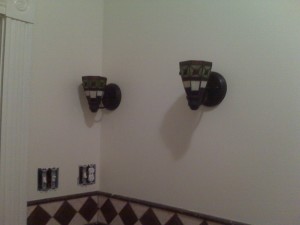
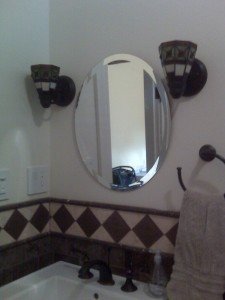
After work I got the sconce lights in the bathroom installed. I installed them “up-side down” because I like them facing up but we may change them. I do prefer not seeing the CFL bulbs and the light is softer this way.
Monday May 31, 2010
Before lunch I got the paint in the bathroom touched up to hide the scuff marks from installing the lights. Then I installed the real light switches and plates, finally I caulked the last joints around the tile.
After lunch I got the tile sealed finally!
Saturday June 12, 2010
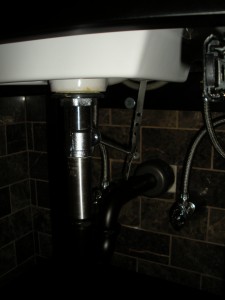
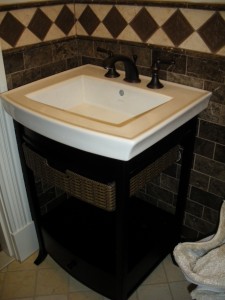
Aimee and Jason came out this weekend to help us finish up the bathroom. Saturday Jason and Ryan got the shower fixtures installed, the toilet installed and the sink installed except for the drain.
Aimee and I worked on stripping the bathroom door, we got one side almost completely done.
Sunday June 13, 2010
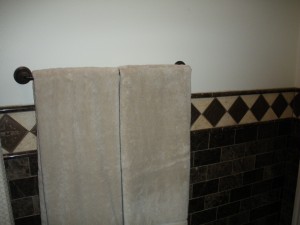
In the morning Jason finished hooking up the sink drain and Ryan installed the towel bars.
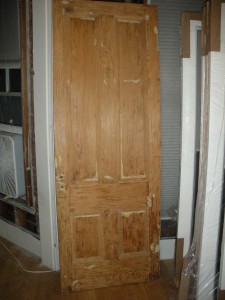
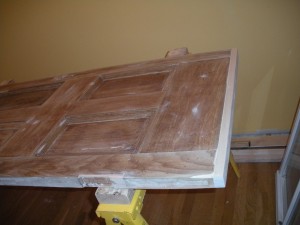
Aimee and I finished up stripping the paint off the door. Later I got the rest of the door sanded and some wood filler on any holes.
July 11, 2010
Finally the bathroom mirror is up! Last night as a last minute project Ryan hung the mirror. The bathroom is just waiting for it’s door and some touch up painting now!
July 11, 2010
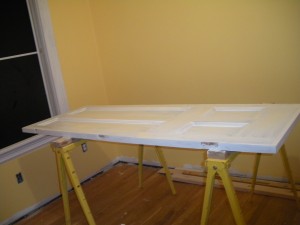
Then we finally added the little bit we needed to the bottom of the bathroom door so it doesn’t have a big gap at the bottom.
And after much wood filling and sanding during the day (and more sanding, and more sanding), I finally ended the day with some priming!
July 25, 2010
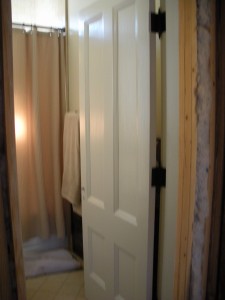
The bathroom door is hung!
It still needs some touch ups (had to plane off one corner – which is very familiar since we had to do the same for our exterior door). And we have to put in a door lockset or a tiny handle on the current lockset. But the door functions which is a huge improvement.
August 26, 2010
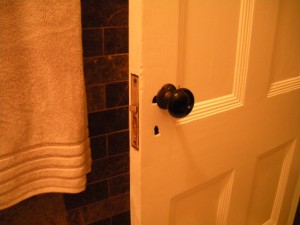
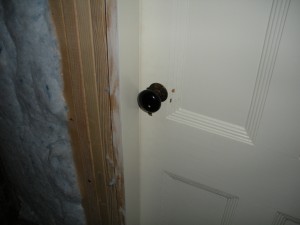
While I was gone tonight Ryan was very busy! We now have a door knob on both sides of the bathroom door! This was no easy feat – a larger lockset needed to be installed which meant mortising out a spot for that larger lockset.
It’s not completed – we need to patch up the old holes and repaint that section but the door knob works! And there’s room to grab it on the outside!
This was a huge surprise and with a few touchups to paint the bathroom will soon be crossed off the list completely!
What’s left:
Repair the crack in the wall – need to reinforce the drywall by the lightswitch and repair quickly
Touch up paint the door (must fill the hole in the door)
That’s it – we’re on the home stretch for the bathroom now!
