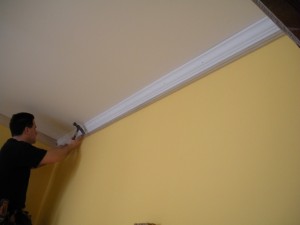
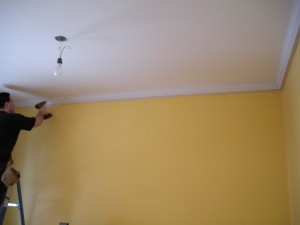
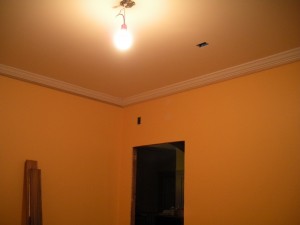
First – for future reference -be careful when buying moldings at home depot, these were marked at 53/37 angles however that’s not a standard spring angle (37) for crown molding, so we decided to actually measure the angle using some of the nifty tools Ryan got for xmas. Right on the dot it was 38 degrees spring. Which is standard, so that’s what we used.
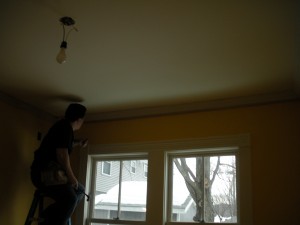
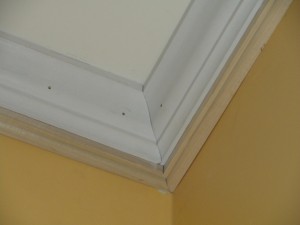
We also decided to start on a different side this time around, leaving the crazy bowed ceiling side for 3rd instead of second, and helping to hide our last coped corner behind the door in case it didn’t come out great. And without further ado – here are the pictures to show our work for the day…
Just a quick note about the piece above the window … this is where our ceiling bows down and also where our wall bows a bit. So to accommodate these curves we had to scribe and cut the molding along the ceiling. Finally in the left corner we had to just leave a gap (we could only bend it so much) and decided to spackle the ceiling down to match the molding in that one corner. We were actually quite happy with this piece when done but it was a lot of work.
After getting some cakes in the oven while ryan went around and added some nails and set them all to tighten it all up, I went around and filled all the nail holes and did some spackling (couple of dings in the walls to get too).
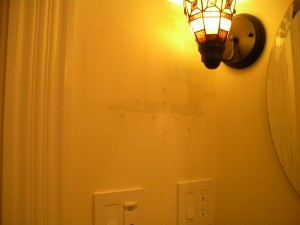
Since the spackle was out (for the ceiling corner and dings) we decided to touch up the bathroom a bit too. We got a crack next to the door so we put in a piece of wood behind the drywall and screwed along the seam. Then I spackled it to start the process of covering it up. Probably need 2 more coats on this seam.
Now I’m off to work on my valentine’s cake project… if it’s successful i’ll post pics tomorrow.
