This process took most of two+ years, June 2006 to February 2009, mostly due to having to juggle family responsibilities with a time consuming task of sandblasting every single part in a small blasting cabinet.
Prior to starting this project, I accumulated a stockpile of tools, which allowed me to perform an enormous amount of the work myself. The only exceptions were parts that were too large for my to handle in an acceptable manner, for example the frame was not something I could sandblast in a easy fashion, nor could I powder coat it.
To disassemble the car, I simply needed a tool chest of SAE wrenches and sockets. But to refurbish the parts I carefully took apart, I required a specific set of tools that may not be in the normal garage. And since I am not Jay Leno, I had to pick them carefully and wisely to avoid spending too much on stuff I really would not use much. Below is a short list of the most important items I used for Phase 1 (Chassis rebuild) and Phase 2 (Body Metal work):
- Sandblasting cabinet (Harbor freight),
- Constant supply of 1/8″ Nozzles and screen protectors from Eastwood.
- 60gallon 7HP CH Vertical Air compressor and copper plumbing (water separators).
- Eastwood Powder coat gun (very useful tool), with a small set of plugs.
- Various powders from Eastwood, mostly black, a single coat chrome and a platinum.
- Used standard kitchen oven from CraigsList for free.
- 3-M impregnated sanding disks for dremel and drill for cleaning pieces not fit for sandblasting.
I would sandblast a group of pieces and mask off areas using either tinfoil or heat resistant plugs. Then hang them from the oven racks and clean them with Pre from Eastwood. I had two racks and would cycle one rack at a time through the oven. Powder coating one set on a rack hanging inside a self made ventilation booth that pulled air through it and vented it outside. I used this booth for using aerosol paints as well.
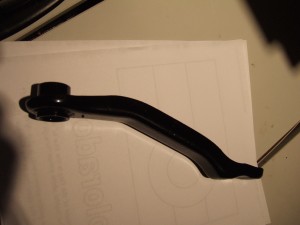
This worked out so well that I wound up powder coating everything I could except for items not fit for heat, for example items with bushing or ball joints attached. From the following pictures you will see the rear differential, bell housing, valve cover and every single suspension piece. The brake rotors, front calipers and rear drums were cleaned, rebuilt and then coated with high heat brake and caliper paint.
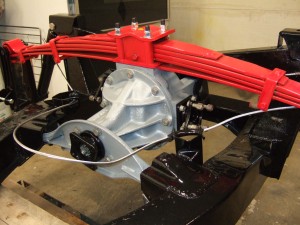
Here you can see the upgraded rear swing with the four stud mounting. The original was a 6 stud layout and I had cut two studs to fill the extra holes. The spring had to be blasted and powder coated externally since it would not fit in my cabinet nor oven. I installed new poly insulators in it prior to mounting. The diff was powder coated while I had it apart to put new seals in it. The rear axles had to be sent out to have the outer drive flanges pressed out new seals and bearings installed.
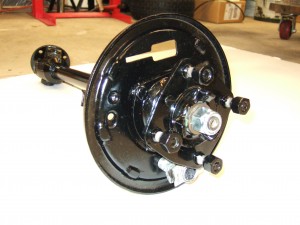
This is final assembled rear axle prior to installing the new brake components. All parts where powder coated except the u-joints and seals.
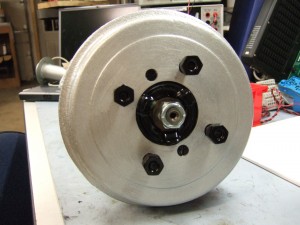
Here is the final appearance with high temp caliper paint applied to the drums.
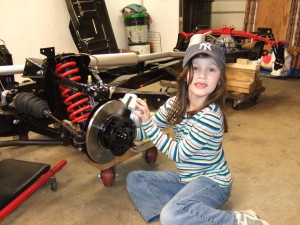
Here my daughter is helping me put the front components back together. I already rebuilt the calipers and steering rack. The front springs are shorter stiffer springs from Moss, already powder coated when I received them. I bought the entire front end rebuild kit from the Roadster Factory. At the time they were the only ones selling a complete kit and it was cheaper than getting the parts from Victoria British or Rimmer Brothers. I ran into a small problem with two items, the tie rod ends rubbed against the rotors and the upper ball joint boots dry rotted in the year or two sitting. RF replaced the boots with no issues but insisted that the tie rod ends were correct and that my car was wrong. I wound up ordering a new set from Rimmer Brothers and as I suspected, the ones from RF were larger and probably for a TR4.
The only other issue I had was figuring out how the front spindle seals when on, either facing out or in. After a little trial and error I had them on right; felt seal mounted to the hubs facing in toward the spindle mount. I did not grease anything or install oil in the trunnions since I knew the chassis was going to sit for awhile before use. I also did not tighten any suspension bolts to prevent incorrect pre-loading of the bushings.
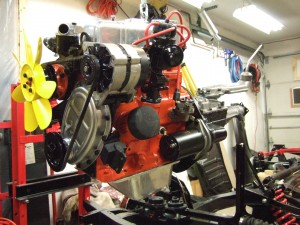
After about a year of doing the chassis, I moved on to the engine detailing. First I stripped and wire-brushed it. Since it was not as good as sandblasting (not an option), I coated it in rust converter from Eastwood, which converted the rust to a gray colored aluminum oxide coating. I then painted it in chevy orange engine paint. I could never find any consistent engine color options and went with what seemed to be on it originally or after an earlier engine rebuild.
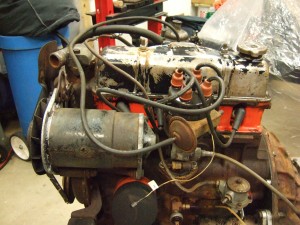
Not sure if orange was original or not, I decided to stick with it and later painted the whole engine with it. Here you can still see the original generator.
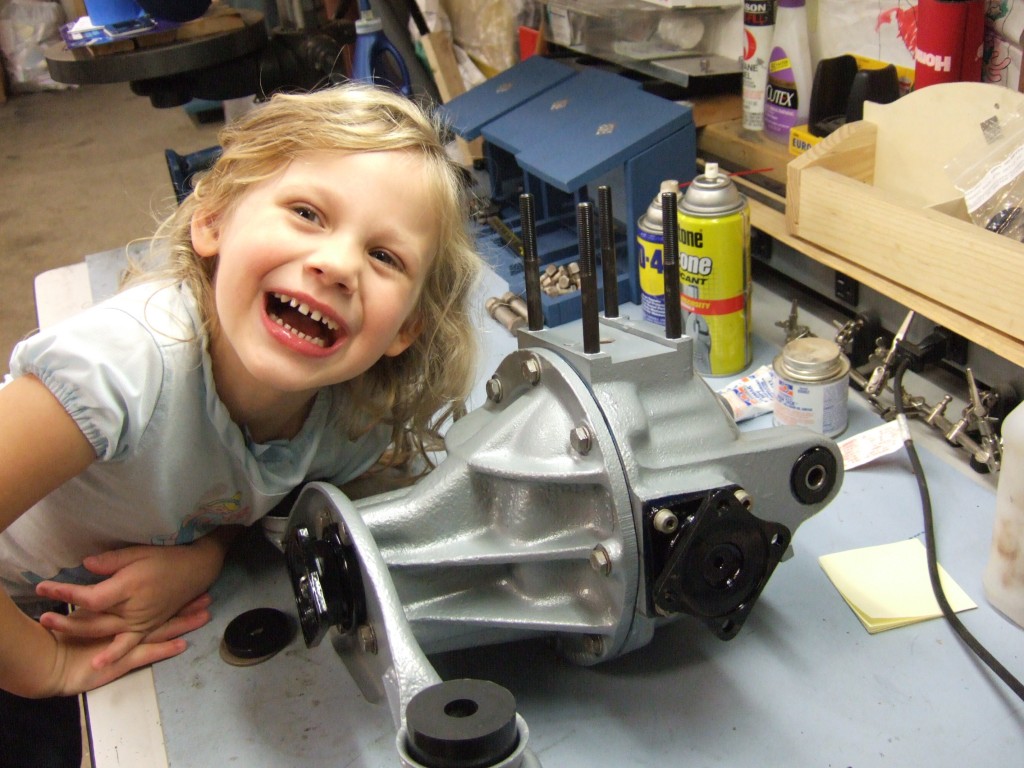
Below is the rear differential basically done. Another test case that failed is I tried to tin/zinc coat the bolts for the inner flanges and the differential with a kit from Eastwood. They rusted over after sitting for a year or so in a high humidity environment. I wound up using rust converter on them and painting them with Black Rustolium just recently, as I was getting the chassis ready to put the body back on (2/2011).
Here you can see a lot of minor tweaks to the original engine. I added a 7 bladed plastic fan to improve cooling and reduce weight, an alternator from a Mk IV, high voltage wires. The timing cover, valve cover and oil pan are powder coated in a chrome single stage powder. Looks great now, but I am wondering how it will look when the engine gets to operating temperature. I rebuilt the alternator myself for a total cost of $50 even with the ebay price of the used alternator. Most likely this will be a waste since I will probably upgrade to a higher output one in the future, same with the starter. Right now the engine till has points, but after I get it all running again, I plan on switching to an electronic ignition. The Stromberg is not installed yet since I was on the fence about what I wanted to do, whether go to a downdraft Weber or a HS2 or HS4 dual carb configuration. At this point (2/2011), I will just send it out and get rebuilt by somebody that knows what they are doing for $200 or so.
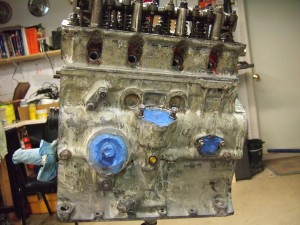
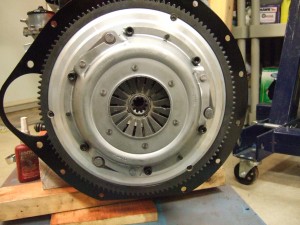
Here is another improvement that I hope was worth the trouble and cost. This is an aluminum flywheel from Fidanza (172131-493), ordered from UltraRev on Ebay for around $300. This was for a 1300 engine but the stock clutch would not fit. After much research, I found that it needed the clutch from a 1971 Mk IV, which is a 7.25″ x7/8 10spline version. I still have the one that I bought from the Roadster Factory since it was way past the return period by the time I was installing it. I could only get the correct clutch from VB and thus I could not simply exchange it. It is a larger clutch than the original. You can also see that I had to switch the hex head mounting bolts, the regular bolt heads where hitting.
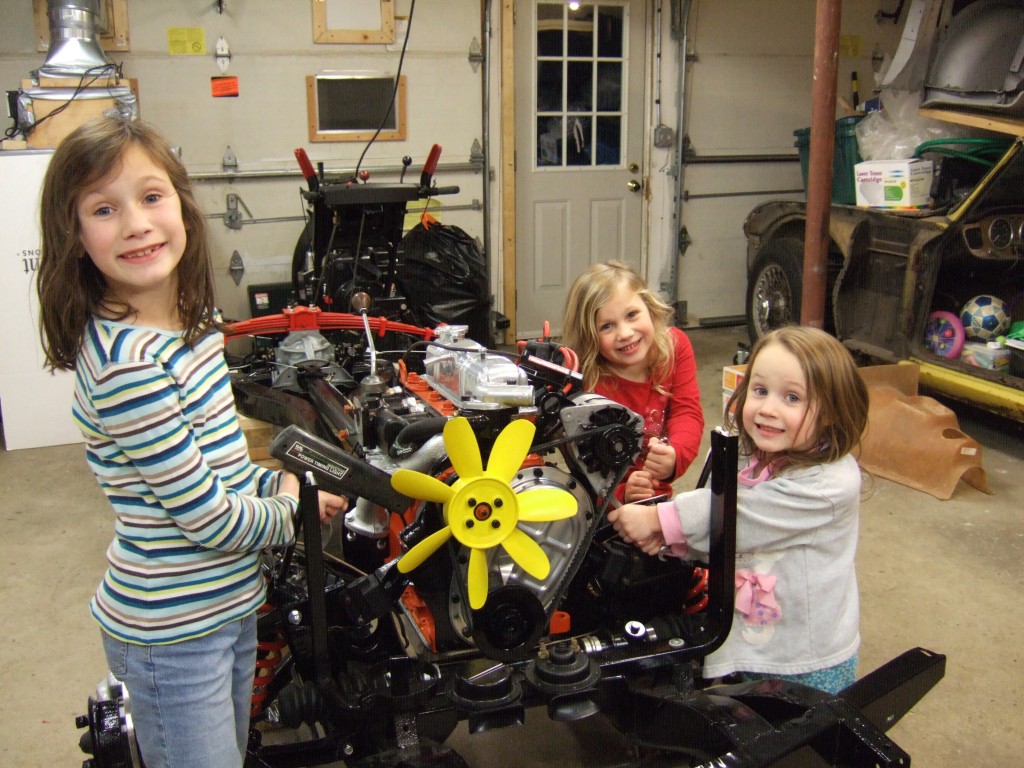
Not really accurate, since we really were not timing the engine, but a fun picture anyways. During this stage they could help in bolting things on. During Phase 2, they could not really help with anything with all the welding and grinding. I am looking forward to Phase 3 when they can actually help again. Notice “Larry” in the background, my ’65 TR4 being used to hold kids toys…… Chloe already has put her name on that car when it gets done.
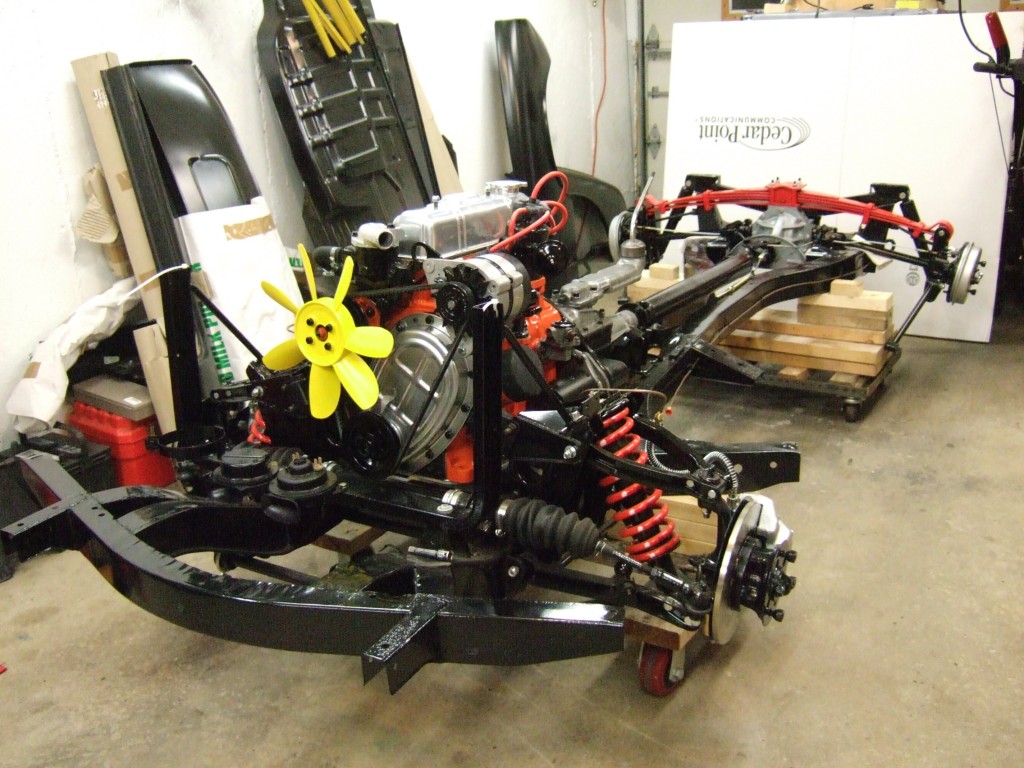
Below is the completed chassis, with new copper brake lines from a kit from Rimmer Brothers. I held out on the gas lines until I had the body on and could fit the gas tank to get the correct lengths for the bends. If you go back and look at the before picture in the disassemble page, you will see a big difference. One thing not shown here is the 22″ wide radiator that I added in, another item I threw in as an improvement over the original smaller sized unit.
Notice the new floor pans and rear valance in the background. After seeing some panels from Victoria British and the Roadster Factory, nothing compared to heavy duty panels from Rimmer Brothers. All on original pressings in the UK. Overall the prices were very reasonable even with the exchange rate and shipping.
Now with several boxes of stuff now assembled, I am finally off to Phase 2 and trying to make a car body again. This step took a little longer than expected and I am not sure why, but most likely due to kid activities and such. It is around spring of 2009 for the final picture above, and I expected to be done with this step by summer of 2007, giving me a full winter to work on it after getting it all apart. What came up was that my kids got old enough for skiing, and being in NH, we have plenty of opportunities most years. Plus lots and lots of soccer.

